2014 BMW X6 Owner’s Manual
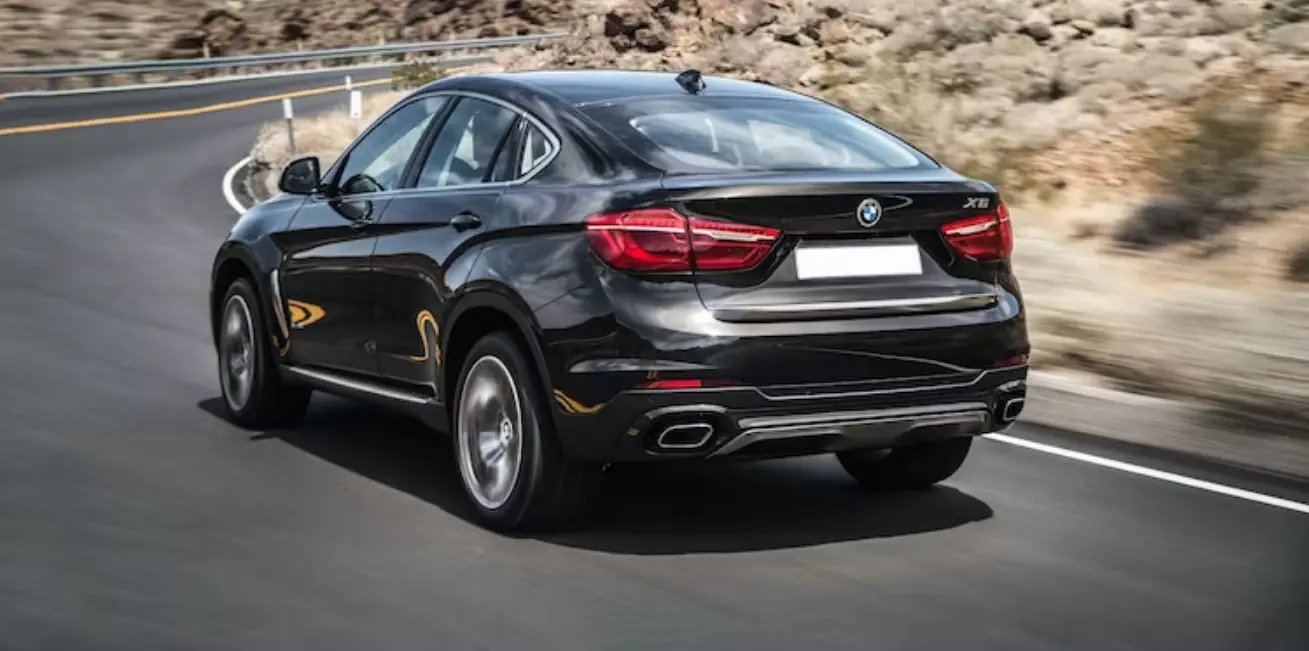
The 2014 BMW X6 made its debut as a unique and daring luxury crossover SUV that combined the sportiness of a coupe with the flexibility of an SUV. The X6 stood out on the road because of its unique and eye-catching design. It had a sloping roofline, powerful body lines, and BMW’s signature styling cues. There were a variety of powerful engines to choose from, which made for thrilling speed and quick handling. Inside, the X6 was luxurious and comfortable, with high-quality materials, modern infotainment systems, and a lot of convenient features. The 2014 BMW X6 was fun and safe to drive because it was made with the latest technology and safety features. It had a large trunk that could easily fit both people and things, making it a good choice for everyday use. The 2014 BMW X6 was the right mix of style, performance, and versatility, making it a great choice for people who want a luxury crossover SUV that stands out.
Transporting children safely
Vehicle Equipment
This chapter describes all series equipment as well as country-specific and special equipment offered for this model series. Therefore, it also describes equipment that may not be found in your vehicle, for instance, due to the selected special equipment or the country version. This also applies to safety-related functions and systems.
The right place for children
Note Children in the vehicle
Do not leave children unattended in the vehicle; otherwise, they could endanger themselves and other persons, e.g., by opening the doors.
Children should always be in the rear
Accident research shows that the safest place for children is on the rear seat.
Transporting children in the rear
Transport children younger than
13 years of age or shorter than 5 ft/150 cm on the rear seats only, using child restraint fixing systems suitable for the age, weight, and height of the child. Otherwise, there is an increased danger of injury in an accident. Children 13 years of age or older must wear a safety belt as soon as a suitable child restraint fixing system can no longer be used, due to their age, weight, and size.
Children on the front passenger seat Should it be necessary to use a child restraint fixing system on the front passenger seat, make sure that the front and side airbags on the front passenger side are deactivated. Automatic deactivation of front passenger airbags, refer to page 87.
Deactivating the front passenger airbags If a child restraint fixing system is used in the front passenger seat, the front passenger airbags must be deactivated; otherwise, there is an increased risk of injury to the child when the airbags are triggered, even with a child restraint fixing system.
Installing child restraint fixing systems
Notes Manufacturer’s information for child restraint fixing systems
To select, mount and use child restraint fixing systems, observe the information provided by the system manufacturer; otherwise, the protective effect can be impaired.
On the front passenger seat
After installing a child restraint fixing system on the front passenger seat, ensure that the front and side airbags on the front passenger side are deactivated.
Deactivating the front passenger airbags If a child restraint fixing system is used in the front passenger seat, the front passenger airbags must be deactivated; otherwise, there is an increased risk of injury to the child when the airbags are triggered, even with a child restraint fixing system.
Seat position and height
Before installing a child restraint fixing system, move the front passenger seat as far back as possible and adjust its height to the highest position to obtain the best possible position for the belt and to offer optimal protection in the event of an accident.
Do not change the seat position and height af‐ter this.
Backrest width
Before mounting a child restraint fixing system on the front passenger seat, open the backrest width, refer to page 45, completely. Do not change the backrest width after this.
Backrest width for the child seat
Before installing a child restraint fixing system in the front passenger seat, the back rest width must be opened completely. Do not change the adjustment after this; otherwise, the stability of the child seat will be reduced.
Child seat security
The rear safety belts and the safety belt for the front passenger can be locked to prevent extension in order to permit the attachment of child restraint fixing systems.
Locking the safety belt
- Pull out the belt webbing completely.
- Secure the child restraint fixing system with the belt.
- Allow the belt webbing to be pulled in and pull it taut against the child restraint fixing system. The safety belt is locked.
Unlocking the safety belt
- Open the belt buckle.
- Remove the child restraint fixing system.
- Allow the belt webbing to be pulled in completely.
LATCH child restraint fixing system
LATCH: Lower Anchors and Tether for Children.
Note Manufacturer’s information for LATCH child restraint fixing systems
To mount and use the LATCH child restraint fixing systems, observe the operating and safety information from the system manufacturer; otherwise, the level of protection may be reduced.
Mounts for the lower LATCH anchors
The lower anchors may be used to attach the CRS to the vehicle seat up to a combined child and CRS weight of 65 lb/30 kg when the child is restrained by the internal harnesses.
Correctly engage the lower LATCH an‐chors
Make sure that the lower LATCH anchors have properly engaged and that the child restraint fixing system is resting snugly against the backrest; otherwise, the degree of protection offered may be reduced.
The mounts for the lower LATCH anchors are located at the points indicated by the arrows.
Mounting LATCH child restraint fixing systems
- Mount the child restraint fixing system; refer to the operating instructions of the system.
- Ensure that both LATCH anchors are properly connected.
Child restraint fixing system with a tether strap
Mounting points
For child restraint fixing systems with tether strap, there are additional mounting points on the back of the rear seat backrests, see arrows.
Only use the mounting eyes for the up-per-LATCH retaining strap to secure child re‐straint fixing systems; otherwise, the mounting eyes could be damaged.
Retaining strap guide
Retaining strap Make sure the upper retaining strap does not run over sharp edges and is not twisted as it passes to the top anchor. Otherwise, the strap will not properly secure the child restraint fixing system in the event of an accident.
Outer rear seats
- Direction of travel
- Head restraint
- Hook for upper retaining strap
- Mounting point
- Backrest
- Upper retaining strap of child restraint fix‐ ing system
When using the cargo cover, pass the upper retaining strap between the rear seat backrest and the cargo cover.
Center rear seat
- Direction of travel
- Head restraint
- Strap guide
- Hook for upper retaining strap
- Mounting point
- Backrest
- Upper retaining strap of child restraint fixing system
When using the cargo cover, pass the upper retaining strap between the rear seat backrest and the cargo cover.
Attaching the upper retaining strap to the backrest of the rear seat row
- Route the upper retaining strap over the middle of the head restraint.
- Attach the upper retaining strap to the mounting point with the hook.
- Pull the retaining strap taut until it compresses the cushion of the head restraint, thus preventing the strap from sliding off.
Locking the doors and windows
Rear doors
Push the locking lever on the rear doors down.
The door can now be opened from the outside only.
Driving
Vehicle Equipment
This chapter describes all series equipment as well as country-specific and special equipment offered for this model series. Therefore, it also describes equipment that may not be found in your vehicle, for instance, due to the selected special equipment or the country version. This also applies to safety-related functions and systems.
Ignition lock
Insert the remote control into the ignition lock
Insert the remote control all the way into the ignition lock.
Radio ready state is switched on. Individual electrical consumers can operate.
Comfort Access
If the car is equipped with Comfort Access, only insert the remote control into the ignition lock, refer to page 37, under special circum‐stances.
Removing the remote control from the ignition lock
Do not forcibly pull the remote control out of the ignition lock
Do not forcibly pull the remote control out of the ignition lock as this may cause damage.
Before removing the remote control, push it all the way in to release the locking mechanism.
The ignition is switched off if it was on.
Start/Stop button
Pressing the Start/Stop button switches the ignition on or off and starts the engine.
The engine starts if the brake pedal is pressed when you press the Start/Stop button.
Radio ready state
Individual electrical consumers can operate. The time and the external temperature are displayed in the instrument cluster.
Radio ready state is switched off automatically:
- When the remote control is removed from the ignition lock.
- In cars with Comfort Access, refer to page 37, by touching the surface above the door lock.
Ignition on
All electrical consumers can operate. The odometer and trip odometer are displayed in the instrument cluster.
To save battery power when the engine is off, switch off the ignition and any unnecessary electronic systems/power consumers.
Radio ready state and ignition off
All indicator and warning lamps as well as dis‐plays in the instrument cluster go out.
Transmission position P with the ignition off
When the ignition is switched off, position P is engaged automatically. When in an automatic car wash, for example, ensure that the ignition is not switched off accidentally.
For example, the ignition is not switched off in the following situations:
- The brake is applied.
- The low beams are switched on
FAQ
A1: The 2014 BMW X6 offered a range of engine options, including petrol and diesel variants with different power outputs.
A2: The 2014 BMW X6 featured a distinctive and daring design, blending the sportiness of a coupe with the versatility of an SUV, along with BMW’s signature styling cues.
A3: The 2014 BMW X6 came equipped with advanced infotainment systems, including a navigation system, Bluetooth connectivity, and a touchscreen display.
A4: Yes, the 2014 BMW X6 offered various driver assistance features such as lane departure warning, adaptive cruise control, and parking sensors.
A5: The 2014 BMW X6 delivered a thrilling and dynamic driving experience, with powerful engine options, precise handling, and agile performance.
A6: The 2014 BMW X6 had seating for up to five passengers.
A7: The 2014 BMW X6 offered both manual and automatic transmission options.
A8: While the focus of the 2014 BMW X6 was more on performance, it offered efficient diesel engine options for improved fuel economy.
A9: Yes, the 2014 BMW X6 featured sport-oriented trims like the M Sport package, which enhanced the SUV’s performance and appearance.
A10: The 2014 BMW X6 included a comprehensive range of safety features, such as multiple airbags, stability control, anti-lock braking system, and traction control.
A11: Yes, the 2014 BMW X6 provided connectivity options like USB ports, Bluetooth audio streaming, and smartphone integration.
A12: The 2014 BMW X6 offered luxurious amenities such as leather upholstery, power-adjustable seats, dual-zone climate control, and a premium sound system.
A13: The 2014 BMW X6 had a reasonably sized cargo area, providing ample space for luggage and other items.
A14: BMW is generally considered a reliable brand, and the 2014 BMW X6 received positive reviews for its reliability and build quality.
A15: Competitors to the 2014 BMW X6 included other luxury crossover SUVs like the Mercedes-Benz GLE Coupe, Porsche Cayenne Coupe, and Audi Q8.
2023 BMW X6 Specs, Price, Features, Mileage (brochure)
Reference Link
Download Link: https://www.bmwusa.com/owners-manuals.html
BMW X6 2022-2023 User Manual