
How To Use LAUNCH CR529 OBD2 Scanner User Manual

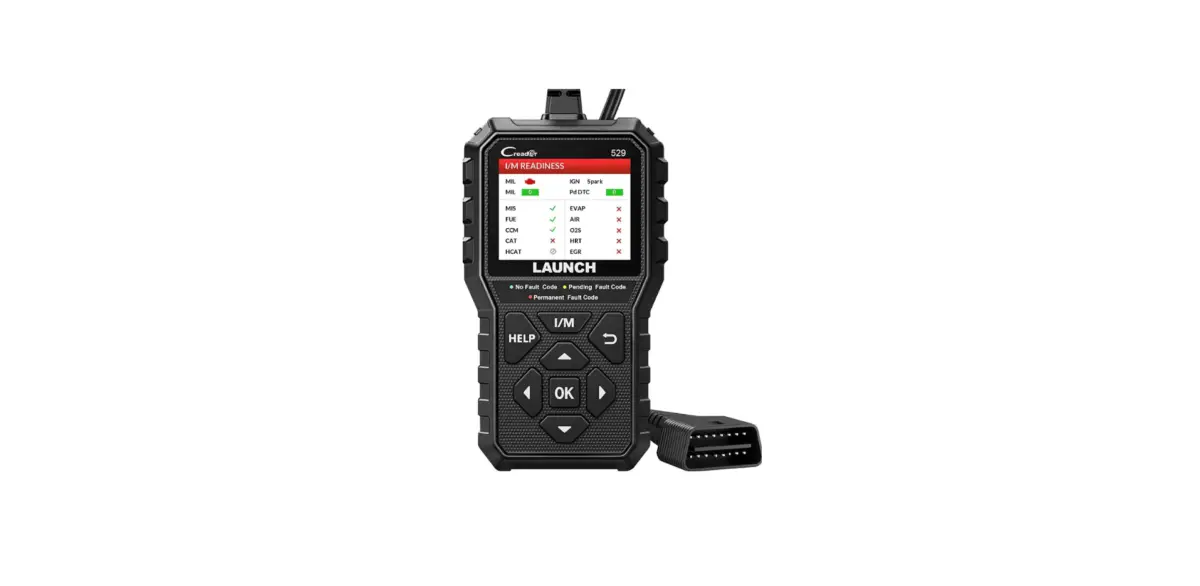
Creader 529 OBD II Scanner is developed by LAUNCH, especially for DIY users and the servicemen of small service workshops. It supports read/clear DTCs and read data streams. With built-in help menus and code definitions, diagnosing and repairing that dreaded Check Engine Light is now easier than ever!
It provides the ability to print diagnostic records through a connection to a PC. Moreover, it can be connected to a PC through a USB cable for an upgrade to keep updated with the latest software version. This scanner is specially designed to work with all OBD II-compliant vehicles, including Controller Area Network (CAN). It is required by EPA that all 1996 and newer vehicles (cars and light trucks) sold in the United States must be OBD II compliant and this includes all American, Asian, and European vehicles.
How To Use LAUNCH CR529 OBD2 Scanner
The LAUNCH CR529 OBD2 scanner is a tool designed to help you diagnose and troubleshoot issues with your vehicle’s onboard computer system. Here’s a step-by-step guide on how to use it:
Prepare Your Vehicle
- Make sure your vehicle is parked in a safe and well-ventilated area.
- Ensure the ignition is turned off.
Locate the OBD2 Port
- The OBD2 port is usually located beneath the dashboard near the driver’s seat. It may be on the driver’s side or near the center console.
- If you can’t find it, consult your vehicle’s owner’s manual or search online for its location.
Connect the Scanner
- Plug the LAUNCH CR529 scanner’s OBD2 cable into the OBD2 port of your vehicle.
Turn on the Ignition
- Turn the vehicle’s ignition key to the “On” position. Some scanners may require the engine to be running, so check the scanner’s user manual for specific instructions.
Power On the Scanner
- Turn on the LAUNCH CR529 scanner by pressing the power button, which is usually located on the device itself.
Select Your Vehicle
- Use the scanner’s menu or buttons to navigate through the options and select your vehicle’s make and model. This step may vary depending on the scanner’s interface.
Read the Codes
- Once your vehicle is selected, choose the “Read Codes” or “Scan” option on the scanner. The scanner will communicate with your vehicle’s onboard computer and retrieve any trouble codes (DTCs).
View and Record Codes
- The scanner will display the trouble codes on its screen. Write down these codes or take a picture with your phone for future reference. Each code corresponds to a specific issue with your vehicle.
Interpret the Codes
- Refer to the user manual or consult online resources to interpret the trouble codes. These codes provide information about what might be wrong with your vehicle.
Clear Codes (Optional)
- If you’ve fixed the issues causing the trouble codes or want to clear the codes for diagnostic purposes, use the scanner’s “Clear Codes” or “Erase Codes” option.
Disconnect the Scanner
- Once you’ve finished using the scanner, turn off the ignition and disconnect the OBD2 cable from your vehicle’s port.
Store the Scanner
- Safely store your LAUNCH CR529 scanner in its carrying case or a secure location for future use.
Frequently Asked Questions
The LAUNCH CR529 OBD2 Scanner is a diagnostic tool used to communicate with your vehicle’s onboard computer system to identify and troubleshoot issues.
Plug the OBD2 cable of the CR529 scanner into your vehicle’s OBD2 port, typically located beneath the dashboard.
Some scanners require the engine to be running, while others only need the ignition turned to the “On” position. Check the user manual for specific instructions.
It can be used with most OBD2-compliant vehicles, including cars, trucks, and SUVs manufactured after 1996 in the United States.
Yes, as long as the vehicle is OBD2-compliant, you can use the CR529 scanner on non-U.S. vehicles.
After connecting the scanner, select the “Read Codes” or “Scan” option on the device to retrieve trouble codes from your vehicle’s computer.
OBD2 trouble codes are standardized codes that indicate specific issues with your vehicle. The user manual or online resources can help you interpret these codes.
Yes, the scanner typically has an option to clear or erase trouble codes once the issues have been addressed.
The CR529 scanner may offer features such as live data streaming, graphing, and performance testing, depending on the model.
Yes, some LAUNCH scanners can be updated via the manufacturer’s website to access the latest vehicle database and software improvements.
The CR529 is designed for both professional mechanics and DIY users, providing essential diagnostic information in an easy-to-use interface.
If you’re unsure about a code’s meaning or need assistance with repairs, it’s advisable to consult a qualified mechanic or automotive professional.
Some scanners offer compatibility with mobile devices or laptops via Bluetooth or USB connections, but the CR529 scanner typically does not have this feature.
Yes, you can use the scanner to clear trouble codes and turn off the check engine light once the issues are resolved.