
How To Use REXING V1P Car Dash Cam User Guide

The REXING V1P Car Dash Cam is a cutting-edge and versatile automotive accessory designed to enhance your driving experience and provide invaluable protection on the road. In an era where road safety and accident documentation are of paramount importance, the REXING V1P Dash Cam stands as a reliable and innovative solution.
This compact yet powerful device is specifically engineered to capture high-quality video footage from the perspective of your vehicle, ensuring that you have a reliable eyewitness in the event of unexpected incidents. Whether you’re navigating city streets, highways, or remote roads, the REXING V1P Dash Cam is your trusty companion, recording critical moments with remarkable clarity. The REXING V1P Dash Cam boasts a range of impressive features, including a high-resolution camera that can capture both the front and rear views simultaneously. Equipped with advanced night vision technology, this dash cam ensures excellent recording quality even in low-light conditions, safeguarding your journey around the clock.
What’s In the Box?

- Rexing V1P Dash Cam
- Car Charger
- Mount Plate & 3M Adhesive
- Mini-USB Cable
- Rear Camera
- Cable Management Tool
- Cable Clips©
- V1P Quick Start Guide
- Safety Guide
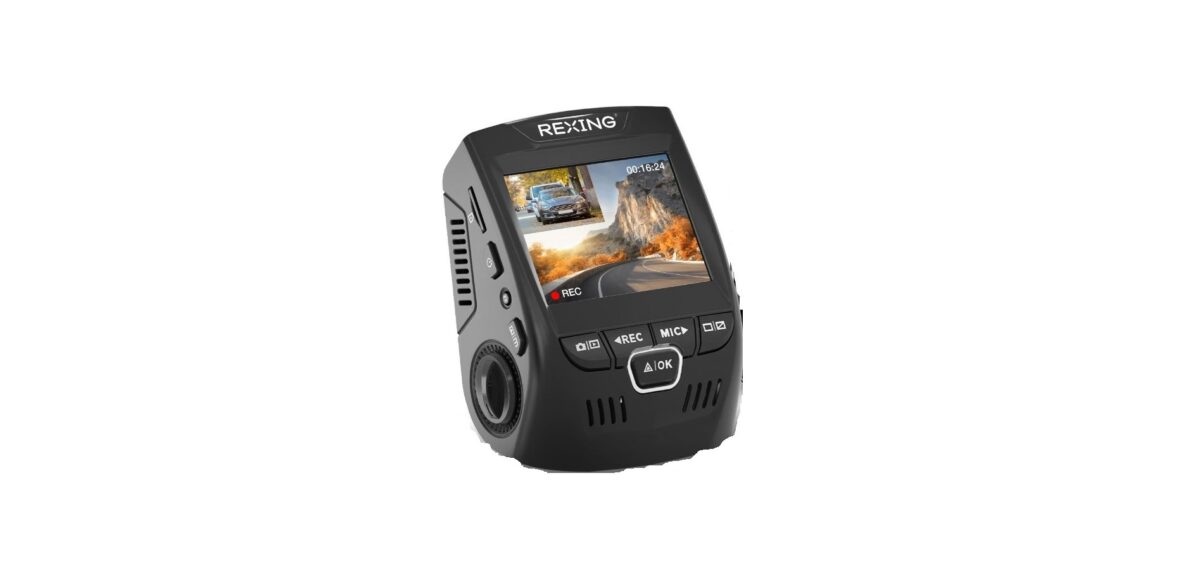
Camera Overview

- Micro SD Card Slot
- Power Button
- Reset Button
- Menu Button
- Mode Button
- REC (Record) Button
- OK (Confirm) Button
- MIC (Microphone) Button
- Screen Button
- Mini-USB Port
- GPS Logger Port
- Rear Camera Port
- Lens Angle Adjustment
- The Camera is recording when the LED is flashing red.
- The Camera is recording when the LED is flashing red.
- The device is charging or powered on when the LED is solid blue.
- The device is charging or powered on when the LED is solid blue
Screen Icons
 Installation
Step 1: Install the Dash Cam
Place the 3M tape on the Mount and properly orient the Mount square to the roof and hood line of the vehicle. Important! Ensure the T-interlock on the Mount is oriented in the correct direction.
Firmly press the Mount onto the windshield. Wait at least 20 minutes before mounting the camera.

Step 2: Insert the Memory Card
The Rexing V1P accepts [Class 10/ UHS-1 or higher] Micro SD memory cards up to 256GB. You will need to insert a memory card before you can begin recording. Before inserting or removing a memory card, first ensure you’ve powered down the device.
Gently push the memory card in until you hear a click, and allow the spring release to push the card out.

Step 3: Power the Camera and Format the Memory Card
Power the camera by connecting the charger to the car cigarette lighter and camera.
To ensure the V1P records to your memory card properly and without error. Before you start using a new memory card, you must format the card within the camera using the format function. Always back up important data stored on the memory card before formatting.
To format the memory card, make sure you have inserted your memory card, then turn on the device by connecting it to a power source. Press REC to stop recording. Then press the MENU button twice to enter the System Setup Menu. Use the REC and MIC buttons and go to the Format setting. Press the OK Button to confirm the selection.

You may now disconnect from power. The camera will shut
down after 3 seconds. The camera should begin recording
automatically the next time it is powered on.

Step 4: Mount the Rear Camera
Mount the rear camera as shown below. Use the provided rear camera cable to connect the rear camera to the front camera.

Step 5: Installing the Camera onto the Windshield
Place the camera on the mount carefully route the power cable around the windscreen and tuck it in under the trim.
Plug the Car Charger Cable into a 12V DC power outlet or the car cigarette lighter.
Connect the car charger to the camera. The camera will auto-start recording once powered on.

Frequently Asked Questions
The REXING V1P Car Dash Cam is a compact device designed to capture video footage from your vehicle’s perspective while you drive. It records both front and rear views and can be a valuable tool for documenting accidents, providing evidence, and enhancing road safety.
The dash cam uses built-in cameras to continuously record video footage of your surroundings. It stores this footage on a memory card, and you can review or save it later as needed.
The REXING V1P typically features a front camera with Full HD 1080p resolution and a rear camera with HD 720p resolution.
Yes, the REXING V1P Dash Cam can record both front and rear views simultaneously, providing comprehensive coverage of your surroundings.
The field of view for the front camera is typically around 170 degrees, while the rear camera has an FOV of approximately 140 degrees.
Yes, the REXING V1P Dash Cam is equipped with night vision technology, allowing it to capture clear footage in low-light or nighttime conditions.
Installation involves mounting the dash cam on your vehicle’s windshield using the provided suction cup or adhesive mount. The power source is typically the vehicle’s 12V power outlet (cigarette lighter socket).
The REXING V1P uses a microSD card (not included) to store recorded footage. It supports various card sizes, typically up to 256GB, depending on the model.
Loop recording overwrites the oldest footage on the memory card when it becomes full, ensuring continuous recording. Important events are protected and saved separately.
Yes, the dash cam has a G-sensor that detects sudden acceleration, braking, or impacts. When triggered, it locks and protects the current video file to prevent it from being overwritten.
Yes, you can access and view recorded footage by removing the microSD card from the dashcam and using a card reader on your computer. Some models may also have smartphone apps for remote access and viewing.
Compatibility with smartphones depends on the specific model. Check the manufacturer’s information or user manual for details on smartphone compatibility.
The maximum supported memory card capacity is typically up to 256GB, but it may vary depending on the model and manufacturer.
Some versions of the REXING V1P may have built-in GPS for tracking location and speed. Verify this feature with the specific model you have.