 2014-2023 Harley Davidson Sportster Headlamp Bulb Information
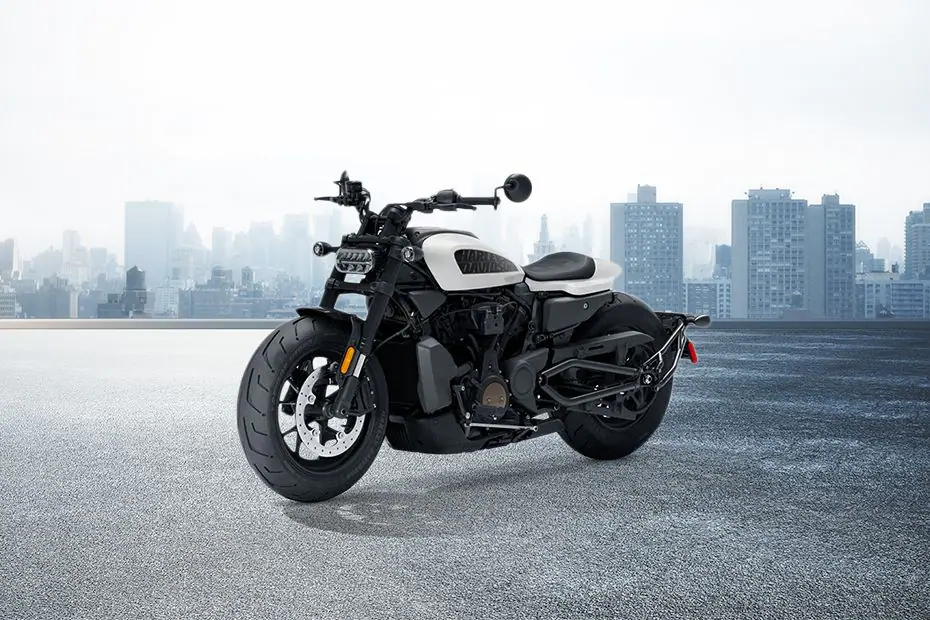
From 2014 through 2023, the Harley Davidson Sportster headlamp bulb will signify ten years of classic design and potent illumination. This headlamp bulb, created to exemplify the spirit of independence and the wide road, not only illuminates the path but also embodies the spirit of the storied Sportster series.
It delivers increased visibility and safety while preserving the traditional aesthetics that Harley Davidson enthusiasts have grown to love thanks to developments in lighting technology over the years. The Sportster headlamp bulb is a beacon of both flair and performance for riders that demand the most from their Harley experience, whether they are cruising through city streets or conquering the interstate.
HEADLAMP BULB Removal
NOTICE
When replacement is required, use only the specified sealed beam unit or bulb, available from a Harley-Davidson dealer. An improper wattage sealed beam or bulb, can cause charging system problems. (00209a)
WARNING
To prevent accidental vehicle start-up, which could cause death or serious injury, remove main fuse before pro-ceeding. (00251b)
- Remove main fuse. See MAINTENANCE AND LUBRICA-TION, Fuses.
- Remove the trim ring.
- XL 883L/N/R, XL 1200T, XL 1200X: See Figure 54. Remove screw (1), nut (2) and headlamp trim ring (3).
- XL 1200V/C/CP/CA/CB: See Figure 55. Remove screw (1) and headlamp trim ring (3).
- Hold headlamp reflector/lens and compress release tabs on sides of bulb connector (4) to pull connector from the bulb (5) spade terminals.
- Remove headlamp lens (6) and metal adapter ring (7).
- Pull rubber boot (8) from back of the lens.
- Press ends of retaining clip (9) to unhook from notched retaining tabs. Pivot retaining clip back.
- Remove the bulb.
Installation
Handle bulb carefully and wear eye protection. Bulb contains gas under pressure, which, if not handled carefully, could cause serious eye injury. (00062b)
Never touch the quartz bulb. Fingerprints will etch the glass and decrease bulb life. Handle the bulb with paper or a clean, dry cloth. Failure to do so could result in bulb damage. (00210b)
- Install the replacement bulb.
NOTE
Fit the tab opposite the center spade connector of bulb to the top notch in the reflector. - Pivot the retaining clip over the bulb and press the ends into the retaining post.
- Install rubber boot with word TOP over top notch.
- Press center ring down flush with base of bulb. Press air out of boot to seal bore of boot to bulb.
- Connect the bulb connector to the bulb.
- Install the lens.
- XL 883L/N/R, XL 12100T, XL 1200X: Fit the adapter ring and the reflector/lens to the headlamp shell.
- XL 1200V/C/CP/CA/CB: With the finger gasket in place, fit the adapter ring and the reflector/lens to the headlamp shell.
- Connect the bulb connector to the bulb.
- Install the lens.
- XL 883L/N/R, XL 12100T, XL 1200X: Fit the adapter ring and the reflector/lens to the headlamp shell.
- XL 1200V/C/CP/CA/CB: With the finger gasket in place, fit the adapter ring and the reflector/lens to the headlamp shell.
NOTES - Fit the two notches on the circumference of the adapter ring to the two bulges on rim of headlamp shell.
- Fit the single tab on the circumference of the reflector to the notch on the inside of the adapter ring.
- Rotate the trim ring clockwise to lock down on the reflector/lens. Install the trim ring fastener and tighten.
- Install the main fuse.
WARNING
Be sure that all lights and switches operate properly before operating motorcycle. Low visibility of rider can result in death or serious injury. (00316a) 9.
Test headlamp operation.
10. Align the headlamp. See MAINTENANCE AND LUBRIC- ATION, Headlamp Alignment.
Position Lamp: HDI
- Replace the position lamp if necessary.
- Pull the spade connectors from the bulb holder.
- Pull the bulb holder from the reflector/lens.
- Quarter turn the bulb to remove and replace.
- Replace the bulb holder and mate connectors.

Figure 54. Headlamp: XL 883L/N/R, XL 1200T, XL 1200X
- Screw
- Nut
- Trim ring
- Connector
- Bulb
- Lens
- Adapter ring
- Boot
- Retaining clip
 Figure 55. Headlamp: XL 1200V/C/CP/CA/CB
- Screw
- Finger gasket
- Trim ring
- Connector
- Bulb
- Lens
- Adapter ring
- Boot
- Retaining clip
HEADLAMP ALIGNMENT
The automatic-on headlamp feature provides increased visibility of the rider to other motorists. Be sure headlamp is on at all times. Poor visibility of rider to other motorists can result in death or serious injury. (00030b)
NOTE
Adjust the headlamps of motorcycles with multiple beam headlamps to converge into one pattern.
- Check the tire pressure.
- Adjust the rear shocks for the rider and intended load.
- Fill fuel tank or add an equal amount of ballast.
NOTE
Choose a wall in minimum light. - See Figure 56. Park the motorcycle in a line (1) perpendicular to the wall.
- Position motorcycle so that front axle is 25 ft (7.6 m) from wall.
- Draw a vertical line (2) on the wall.
- With the motorcycle loaded, point the front wheel straight forward at wall. Measure the distance (4) from the floor to the center of the high beam bulb.
- Draw a horizontal line (5) through the vertical line on the wall. Place line 2.1 in (53.3 mm) lower than the measured bulb centerline.
NOTE
See Figure 56. The headlamp is aligned when the light beam hot spot is located over the intersection of the lines. - With the high beam activated, verify headlamp alignment. Adjust as necessary.

Figure 56. Headlamp Alignment: Sportster Models
- Perpendicular line
- Vertical line
- 25 ft (7.6 m)
- High beam bulb centerline
- Horizontal line 2.1 in (53.3 mm) lower than bulb centerline
HEADLAMP: ADJUSTMENT Adjustment: XL 1200C/CP/CA/CB/V/X
- Set horizontal adjustment
- See Figure 57. Loosen horizontal adjustment screw (3).
- Turn headlamp right or left as necessary to direct light beam straight ahead.
- Tighten horizontal adjustment screw to 30-35 ft-lbs (40.7-47.5 Nm).
- Set vertical adjustment
- Loosen locknut (1) for vertical adjustment bolt.
- Tilt headlamp up or down to aim it at horizontal line on wall.
- Tighten headlamp locknut to 30-35 ft-lbs (40.7-47.5 Nm).

Figure 57. Headlamp Adjustment: XL 1200C/CP/CA/CB/V/X
- Locknut
- Vertical adjustment bolt
- Horizontal adjustment screw
Adjustment: XL 883L/N/R, XL 1200T
- See Figure 58. Remove snap plug (1) on top of headlamp bracket (2).
- Loosen headlamp clamp nut (3).
- Tilt headlamp up or down to aim it at horizontal line. At same time, turn it right or left to aim beam straight ahead.
- Tighten headlamp clamp nut to 120-240 in-lbs (13.6-27.1 Nm) after lamp is properly positioned.
- Install snap plug-in headlamp bracket.

Figure 58. Headlamp Adjustment: XL 883R/L/N, XL 1200T
- Snap plug
- Headlamp bracket
- Clamp nut
TURN SIGNAL BULB REPLACEMENT: BULLET STYLE
- See Figure 59. Insert a coin or the blade of a small screwdriver into the notch at the bottom of the lens cap. Carefully twist until the lens cap pops out of the lamp housing.
- Push bulb in and rotate counterclockwise. Pull bulb from socket.
- Inspect condition of electrical contacts in socket. If necessary, clean with a small wire brush and electrical contact cleaner.
- Apply ELECTRICAL CONTACT LUBRICANT to contacts in socket and at bottom of new bulb.
- Align pins on new bulb with pin guides in bulb socket. Push bulb in and turn clockwise to lock in place.
- Snap lens cap onto the lamp housing with notch at bottom.
WARNING
Be sure that all lights and switches operate properly before operating motorcycle. Low visibility of rider can result in death or serious injury. (00316a) - Test lamp operation.

Figure 59. Remove Lens
TAIL LAMP BULB REPLACEMENT
XL 883R/L, XL 1200T and Models with Standard Style Tail Lamp
- See Figure 60. Remove two screws and lens from base.
NOTE - Remove the 4-pin connector to ease bulb removal.
- Pull bulb assembly from lens. Remove bulb from socket.
- Coat base of new bulb with ELECTRICAL CONTACT GREASE. Install new bulb in socket.
- Install (push) bulb assembly to lens.
- If removed, connect [93] connector to circuit board.
- Install lens to base with two screws. Tighten to 20-24 in-lbs (2.3-2.7 Nm).
WARNING
Be sure that all lights and switches operate properly before operating motorcycle. Low visibility of rider can result in death or serious injury. (00316a) - Turn ignition on. Test for proper tail lamp operation.

Figure 60.Tail Lamp Assembly
- Lens
- Base
- 4-pin multi lock connector
- Bulb socket
XL 1200C/CP/CA/CB
Though similar in appearance to the standard style tail lamp, the tail lamp on XL 1200C/CP/CA/CB models is an LED assembly. See a dealer or service manual for replacement.
XL 883N and XL 1200X/V
- The tail and stop lamps are dual filament turn bulbs in the rear turn signal bullet housings with red lenses. To replace a tail or stop lamp, replace the turn signal bulbs. See MAINTENANCE AND
- LUBRICATION, Turn Signal Bulb Replacement: Bullet Style.
- XL 883N and XL 1200X/V Models with LED Turn
Signal Tail and Stop Lamps
- On International and Japanese XL 883N and XL 1200X/V models, the rear turn signal/tail lamps are LED assemblies. There are not replacement bulbs for this style lamp. The caps on the rear turn
- signals are not removeable. See a dealer or service manual for assembly replacement.
- Due to local regulations, this feature may not be found in all destinations.
- 150 Maintenance and Lubrication
FAQs
The H4 halogen bulb is normally used in the headlamp of the 2014–2023 Harley Davidson Sportster.
You must disassemble the headlight housing, remove the old bulb, plug in the new one, and then reassemble the housing to change the headlamp bulb. For further information, consult your owner’s handbook.
Yes, you can convert to an LED headlamp bulb, however you might need to buy a conversion kit made specifically for your model of Sportster.
LED bulbs offer brighter, more energy-efficient lighting than halogen ones. Additionally, they live longer lives.
Standard hand tools like a socket set and screwdriver are usually required. However, depending on the model and year, other tools can be needed.
Installing a higher-wattage bulb is not advised since it could overload the electrical system and potentially harm it.
Although the lifespan of a bulb can vary, it’s a good idea to check and replace it if it seems dull or burnt out.
Yes, aftermarket headlamp bulbs are available. However, check sure they are compatible with the model of your Sportster.
High beam headlamp bulbs offer maximum illumination for improved visibility at high speeds, while low beam headlamp bulbs offer a more focused and less intense beam for riding in cities and at low speeds.
The headlamp housing on the majority of Sportsters has a straightforward adjustment screw or knob to raise or reduce the beam. For detailed instructions, refer to your owner’s manual.
You can alter the color of the bulb by using colored filters or buying bulbs with a different color temperature, but you should be mindful of any regional restrictions on headlamp color.
The longevity of the headlamp can be increased by maintaining a clean lens and using gloves when handling the lightbulb.
Upgrade to a brighter halogen bulb, but take care not to use more power than your motorcycle’s electrical system is designed to handle.
Bulb burnouts occurring frequently can be a sign of an electrical problem. Have an expert technician examine the electrical system of your Sportster.
Motorcycle parts shops, Harley Davidson dealerships, and online shops that sell motorcycle accessories all have replacement headlamp bulbs.
Useful Link
View Full PDF : Harley Davidson Sportster 2014-2023 User Manual | Auto User Guide
Indicators lamps : 2014-2023 Harley Davidson Sportster Indicators lamps