2021 Harley Davidson Touring Control and Switches Instructions
The 2021 Harley Davidson Touring models are a representation of strength, independence, and the thrill of the wide road in the world of motorcycles. These legendary motorcycles provide riders incredible control over their vehicles through a variety of complicated controls and switches in addition to their legendary performance. Understanding these functions is crucial for a secure and comfortable ride, from the ergonomic switches for cruise control and entertainment to the handlebar-mounted controls for lights, indicators, and horn. To fully utilize your bike, you must comprehend the 2021 Harley Davidson Touring Control and Switches Instructions. This manual looks into the intricate control and switch systems of the Touring model, providing useful information on their roles, placements, and best practices. This guide is your key to comfortably and conveniently navigating the road ahead while taking advantage of the comfort and convenience these controls offer, whether you’re an experienced Harley rider or a beginner to the world of touring bikes.
GENERAL: CONTROLS AND INDICATORS
WARNING
- Identify and understand the specific features of your vehicle. Failure to understand how these features affect the vehicle’s operation can lead to an accident, which could result in death or serious injury. (00043b)
- Some features explained are unique to certain models. These features may be available as accessories for your Harley-Davidson motorcycle. See a Harley-Davidson dealer for a complete list of accessories that will fit your specific motorcycle.
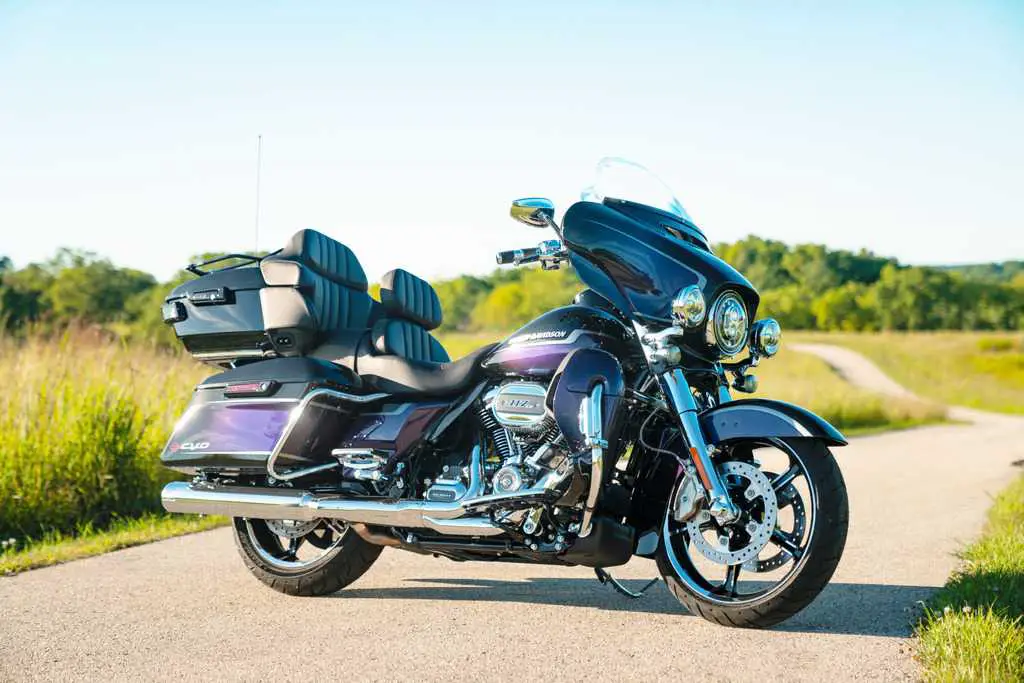
CONTROLS, INSTRUMENTS AND SWITCHES
Clutch Hand Lever
WARNING
- Do not position fingers between hand control lever and handlebar grip. Improper hand positioning can impair control lever operation and cause loss of vehicle control, which could result in death or serious injury. (00032a)
- See Figure 4. The clutch hand lever (1) is operated with the fingers of the left hand. See Shifting Gears.
Gear Shift Lever
See Figure 20. The gear shift lever is operated with the left foot. Neutral is found between first and second gear in the six-speed shift pattern. See Shifting Gears.
- Left-Hand Control Module
See Figure 4. Operate the switches on the left-hand control module (11) with the thumb of the left hand. See Left-Hand Control Switches. - Speedometer/Odometer
See Figure 4. The current road speed is displayed in the speedometer (3). The accumulated mileage and individual trip mileage is displayed in the odometer window in the face of the speedometer. See Instruments. - Right-Hand Control Module
See Figure 4. Operate the switches on the right-hand control module (8) with the thumb of the right hand. See Right Hand Control Switches.
Brakes
WARNING
- Do not position fingers between the hand control lever and handlebar grip. Improper hand positioning can impair control lever operation and cause loss of vehicle control, which could result in death or serious injury. (00032a)
- Front brake lever: See Figure 4. The front brake lever (6) controls the front brake. Operate the hand lever with the fingers of the right hand.
- Rear brake pedal: See Figure 5. The rear brake pedal (7) activates the rear wheel brake.
WARNING
- Do not apply brake strongly enough to lock the wheel. A locked wheel will skid and can cause loss of vehicle control, which could result in death or serious injury.(00053a)
- Apply brakes evenly to prevent wheels from locking up. A balance between rear and front brake is best.
Throttle Twist Grip
- Accelerate: See Figure 4. Slowly twist the throttle twist grip (7) backward (toward rear of the motorcycle) to open the throttle.
- Decelerate: Slowly twist the throttle control grip forward (toward the front) to close the throttle.
OFF/RUN Switch
NOTE
As required by law, the headlamp and tail lamps operate when the switch is in the RUN position. See Figure 25. To start the engine, see Starting the Engine.
INSTRUMENTS
Speedometer
WARNING
- Travel at speeds appropriate for road and conditions and never travel faster than the posted speed limit. Excessive speed can cause loss of vehicle control, which could result in death or serious injury. (00008a)
- With fairing: See Figure 21.
- Without fairing: See Figure 22. The speedometer registers forward speed in miles per hour (U.S.) or kilometers per hour (international).
- Instrument backlighting activates after a slight delay. Changes to ambient lighting, such as going through a tunnel, may briefly change backlighting.
FAQs
Push the left or right turn signal switch on the handlebar in the desired direction to turn on the turn signals.
Select the desired speed with the set button after activating the cruise control by switching it on with the cruise control switch.
The horn button is normally found on the handlebar grip’s left side. To activate the horn, press it.
Controls for the lights (high beam, low beam, and passing lamps), turn signals, and horn are situated on the handlebar.
You can change the audio volume by pressing the volume control buttons on the handlebars.
Yes, through the infotainment system options, you can change settings like screen brightness, display preferences, and audio settings.
Yes, Touring versions come equipped with a danger light switch that turns on all turn signals at once to signify an emergency.
Using the mode switch on the handlebars, riders can choose from a variety of riding modes offered by some touring bikes.
The cruise control system can be disabled without being entirely turned off by pressing the cruise control cancel button.
Some Touring models come with heated grips that can be turned on and off using buttons on the handlebars.
Although installing aftermarket controls or switches is technically conceivable, it’s best to visit a Harley Davidson dealer to guarantee compatibility and security.
To ensure safe functioning, it’s crucial to have a control or switch checked out and fixed by a Harley Davidson authorized service shop.
After deactivating cruise control for a while, you can activate it again by pressing the resume button.
Yes, the instrument cluster normally has a blue indication light that turns on when the high beam is in use.
Yes, the owner’s manual for your particular Touring model offers thorough instructions for using all of the bike’s controls and switches.
Useful Link
View Full PFD: 2021 Harley Davidson Touring User Manual| Auto User Guide
Warning Lamps: 2009-2021 Harley Davidson Dyna Warning Lamps Instructions