Jayco Alante 2023 Cleaning The Diamond Shield Surface User Manual
Cleaning The Diamond Shield Surface
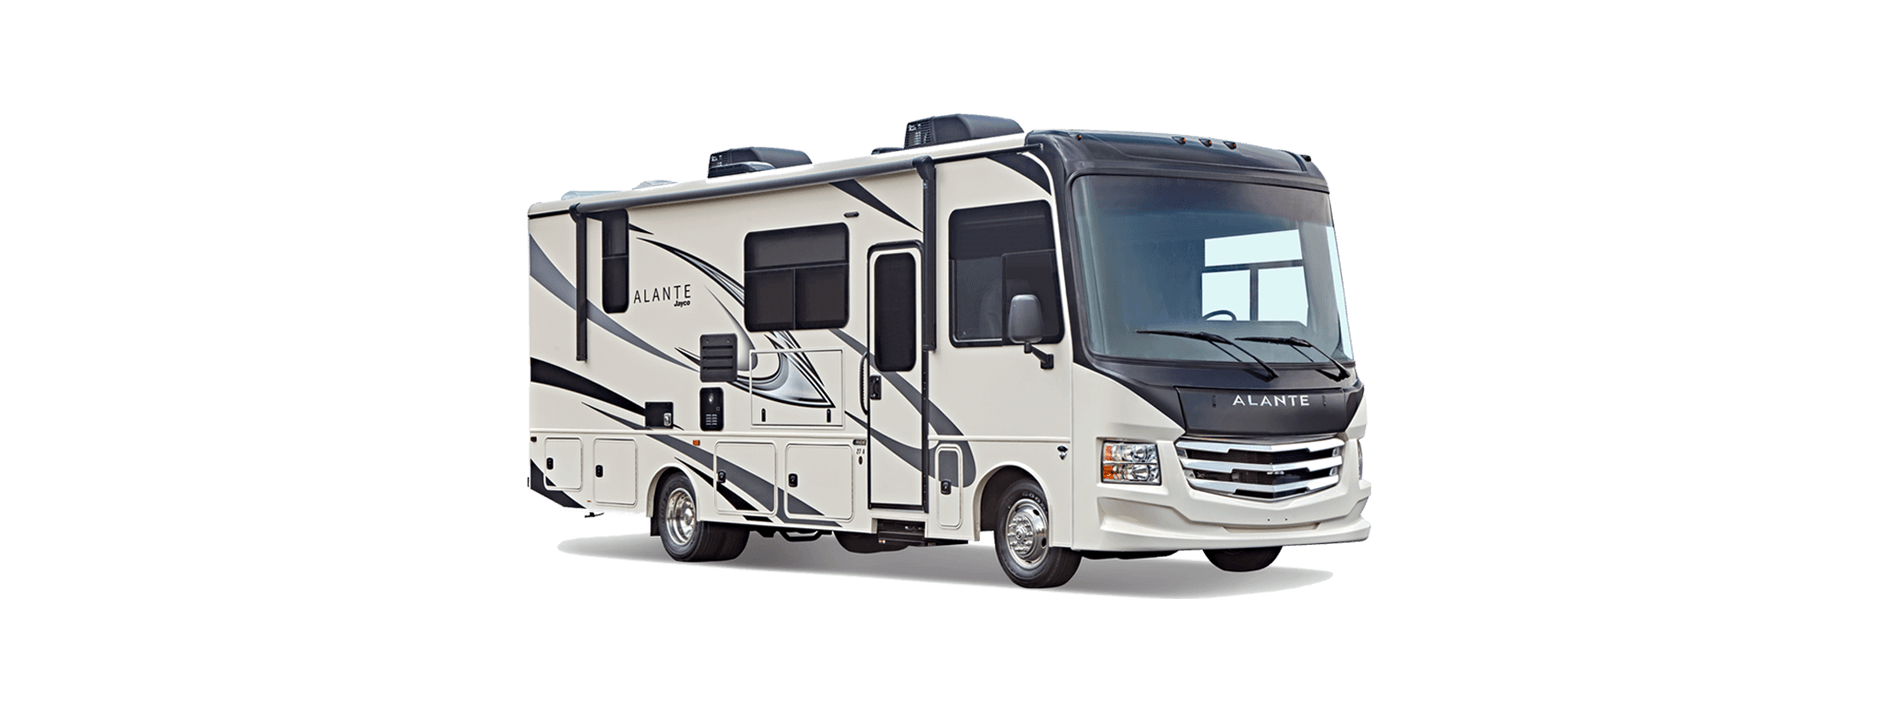
Your motor home is equipped with a protective Diamond Shield surface located on the front lower cap area, hood edges, generator door, under the entry door grab handle, and door lock. When cleaning the surface, do not use harsh or abrasive cleaners or detergents. The manufacturer of the Diamond Shield surface does not recommend the use of any of the dry wash types of cleaners as they are intended for non-porous surfaces, and paint protection films are a porous material. Car wash-type soap is recommended. Bugs should be washed off as soon as possible. One bug cleaner recommended by Diamond Shield is Bug Magic. Use EXTREME care if using a pressure washer, as too high of a pressure or misuse of a pressure washer may cut or tear the film.
Pressure washer damage IS NOT covered under Diamond Shield’s warranty. The application of ANY products over Diamond Shield such as vinyl bras, banners, etc. will void the Diamond Shield warranty. Diamond Shield recommends the use of 303 Aerospace Protectant™ or Protect All www. protectall.com, especially before any trips. Both of these products replenish and provide UV screening protection, repel dust, soiling and staining, and should be applied every time you clean the front of your motor home. For minor scuffs, Diamond Shield recommends the NOVUS line of products. Diamond Shield recommends Mothers or Maguire’s Liquid wax. DO NOT USE wax designed for specific colors. It is recommended to wax the Diamond Shield surface at least 3-4 times per year prior to putting your motor home into storage.
Jayco 2023 Top Accessories
[amalinkspro_table id=”32452″ new-window=”on” nofollow=”on” addtocart=”off” /]
NOTE:
The use of a protective covering (bra) is not recommended and will void the limited lifetime warranty of the diamond shield protective surface.
Frame
Frames receive heavy abuse from road conditions such as sand, pebbles, objects in the highway, and/or ice-inhibiting chemicals, all of which will cause chipping and a blasting effect on the painted surface. Frames will show signs of rust much sooner when exposed to salty air. Periodically rinse off the frame (or as use requires) removing road grime, tar, oil, mud or salt. Refer to your Chassis Guide for the chassis manufacturer’s maintenance instructions.
Mud Flap
Your motor home is equipped with rear-wheel mud flaps and/or a deluxe full-width mud flap, periodically check and remove dirt or debris buildup from the mud flaps.
Caution
The mud flap(s) should never be tilted towards the exhaust pipe when the motor home is not in motion or when the motor home is moving in reverse. Caution should be used when parking the motor home to assure the mud flap does not become caught or hung up on stationery items on the ground. This could result in damage to the mud flap(s).
Exterior Roof and Sidewall Vents
Inspect the roof vents, including sealants for cracks and keep them clean. Inspect the refrigerator and holding tank vents for blockages from bird nests, spider webs, leaves, etc. All exterior access doors and vents need to be kept clean and free of obstructions (i.e., insect nests, mud daubers, etc.) while the appliances are in use.
Windows
Warning
To avoid exhaust gas entry into the motor home, keep windows closed when the chassis or generator engines are running.
Any ventilating window may permit water inside, especially during heavy rainstorms or while driving. This is normal and water should only be seen in the lower track portion of the window frame. Condensation will also cause water to accumulate on windows and in the tracks. Ensure that the escape window latches are properly adjusted (the window will pop open if not adjusted tight enough).
Window glass
The window glass can normally be cleaned with a sponge and water. Use glass cleaner to remove wax, oil, grease, dead insects, etc. After washing the glass, wipe it dry with a clean, soft cloth.
Exterior Ladder
Your recreation vehicle is equipped with an exterior roof ladder. The RV roof construction allows you to walk on the roof (with caution) to do maintenance.
Warning
- If your recreation vehicle is equipped with a roof ladder, do not leave items attached to it while traveling. DO NOT exceed the weight rating of the ladder. The ladder weight capacity label is located under the bottom step of the ladder. There should never be more than one person on the ladder at the same time.
- Self-Storing ladders: Make sure to pull all pins (there may be up to 4) to unlock the ladder. All pins must be re-inserted when locking the ladder open for use.
LADDER CAPACITY MAXIMUM 300 lbs. (136 kg)
- DO NOT exceed the ladder maximum weight rating.
- The maximum rating includes the person’s weight PLUS weight of items carried.
- When climbing:
- Always face the ladder.
- Climb slowly with weight centered between side rails.
- Keep a 3 point contact on the ladder at all times (3 Point contact-two hands and a foot or two feet and one hand).
- Keep hands free.
- Use of accessories such as lanyards to keep carried items tethered will keep hands free and prevent falling items.
- Heavy or bulky items should be brought up only after reaching the roof.
- Do not use the ladder if damaged in any way.
Failure to follow these guidelines could result in death or serious injury.
Sealants
Caution
- Failure to properly maintain or reseal your recreation vehicle may result in serious water damage to the roof and other parts of the recreation vehicle. This damage is not covered by the Limited Warranty.
- To check the exterior sidewall sealants, use a stepladder placed safely alongside the vehicle. Do not prop a ladder against the body of the RV as it may damage the exterior finish.
Sealants perform a very important function and should be inspected closely and regularly maintained. We incorporate many different types of sealants, including butyl/putty, black butyl-encapsulated foam, silicone (clear and colored), roof sealant and foam. In general, sealants do not have “set” lifetimes. Varying environmental factors affect the pliability and adhesiveness of sealants.
You or your dealer must:
- Inspect all sealants, a minimum of every six months. Make sure to check the roof and all four sides of the recreation vehicle including al moldings, doors, vents, and exterior attachments. A quick walk around the recreation vehicle before leaving may help prevent potential problems during trips and vacations.
- Has the sealant been replaced if you notice any cracks, peeling, voids, gaps, breaks, looseness, or any sign of physical deterioration? Reseal at least one time each year as preventative maintenance.
- Always use the same type of sealant that was removed. Your dealer service or parts manager can help you obtain the correct sealant(s).
The sealants may become damaged due to road vibration, ultraviolet exposure, air pollution, freezing temperatures, and exposure to other elements. Repair deteriorated sealants immediately to prevent damage. Cap seal all trim and openings at least once after the first year and thereafter as cracks, peeling, lifting, and shrinkage occurs. If you notice water inside the recreation vehicle, immediately have the dealer check for the source of the leak. Failure to correct the leak may result in serious damage to your recreation vehicle, and this damage may not be warrantable. If you have questions and/or need assistance with sealing your recreation vehicle, consult with your recreation vehicle dealer.
[amalinkspro_table id=”32446″ new-window=”on” nofollow=”on” addtocart=”off” /]
Reference Links
View Full User Guide: Jayco Alante 2023 User Manual
Download Manuals: https://www.jayco.com/manuals
Jayco 2023 Top Accessories
[amalinkspro_table id=”32452″ new-window=”on” nofollow=”on” addtocart=”off” /]