Jayco Eagle Fifth Wheels 2023 Entrance Door User Manual
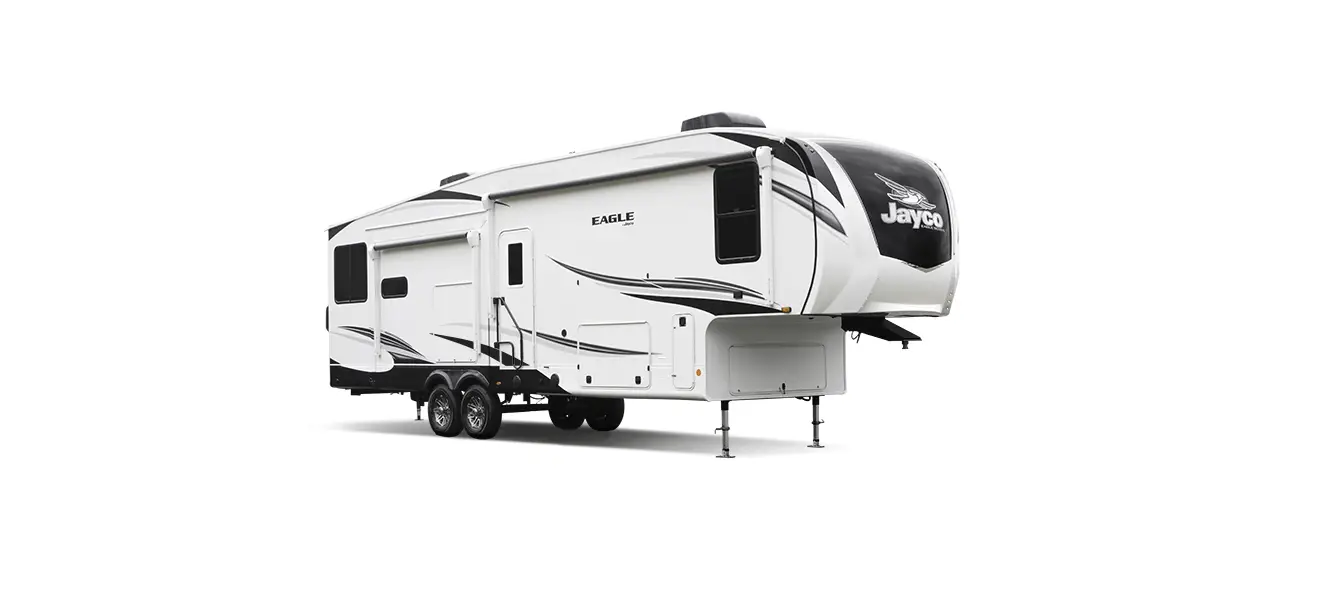
Entrance Door
Always hold onto the entrance door when opening or closing it. Damage caused because you failed to do so is not covered by the Limited Warranty.
Caution
Make sure the entrance door is completely closed and locked when traveling. Locking the door helps prevent it from opening unintentionally and keeps intruders from your recreation vehicle.
The entrance screen door may be equipped with a slide panel that allows access to the entrance door handle and locks. The entrance door may also be equipped with both a regular door lock and a dead bolt lock.
Keys
Several keys are provided when you purchase your vehicle. Most keys have an individual key number stamped on the plate. Record these key numbers and keep the information in a safe place. You can order a key blank from your dealer to have duplicate keys made. If you lose the keys, contact your dealer or a locksmith for assistance.
NOTE:
Locks on entrance and baggage doors need biannual lubrication using a light coat of silicone spray. Conditions such as rain, salt, dust and pollution may increase the maintenance needs.
Rear Backup Camera Prep
Your recreation vehicle may be pre-wired for installation of a (customer-supplied and customer installed) rear backup camera and camera ON/OFF switch that can be used as an observation/security camera.
Some models are equipped with a camera accessory power wire that is pre-routed at the factory to the bedroom, or to the command center panel inside the entrance door. An ON/OFF switch can be installed (using the accessory power wire) either in the bedroom or the command center panel. The camera monitor is then plugged into the camera charge center in the bedroom or the command center panel to be used for observation or security purposes.
Some models may have a pre-installed power switch for the camera located in an exterior compartment (e.g. battery storage or utility center bay). Your dealer can tell you if your model comes with a switch pre-installed.
An instruction sheet is included in your warranty packet that details camera and switch installation, along with information to help you locate the power wire.
Warning
- Camera/monitor system aids in the use of, but does not replace vehicle side/rear-view mirrors.
- Objects in camera/monitor view are closer than they appear. When backing up, proceed cautiously and be prepared to stop.
Campsite Hook-Up
- Refer to Electrical Systems section before connecting the shore line power cord (when using full hook-up) OR before starting the generator (if so equipped) or operating the vehicle on 12-volt power when dry camping.
- Refer to Fuel and Propane System section before using the LP system. Open the LP gas tank valve (if so equipped) slowly. There may be air in the lines and five to thirty seconds of time is needed to bleed air before LP vapor fills the lines.
- Refer to Plumbing Systems section before connecting the fresh water supply or turning ON the water pump or water heater.
- When using full hook-up, connect the sewer hose to the campsite sewer hook-up.
- If applicable, start the refrigerator and the cooling or heating system.
NOTE:
For extended dry camping, management of all your resources is essential. Check your battery levels and conserve battery power, use it sparingly.
3.0 Leveling System (if so equipped)
The 3.0 Leveling System is an electric 4 or 6-point automatic leveling control. The system utilizes one main control board and a separate waterproof remote level sensor to measure and manage level point.
It can be operated from several user interface devices including:
- Auto Leveling Control Touch Pad – Mounted outside the RV within view of the hitch.
- MyRV® OneControl Touch Panel (OCTP) – Mounted on a wall inside the living space of the RV.
- MyRV® OneControl Leveling App – App available from Google Play or iTunes for Apple or Android devices.
- Linc® Remote Control – Located inside the entrance door (optional).
The following is an overview of each application. Refer to the Ground Control 3.0 manual included in your warranty packet for complete safety and operating instructions.
Warning
- Never use the auto leveling system to lift the RV off the ground. Lifting the RV so the wheels are not touching the ground will create an unstable and unsafe condition.
- The leveling system is designed only for leveling the unit and should never be used to provide service for any reason under the RV, such as changing tires or servicing the system. It is not recommended that you change a tire yourself.
- Park the RV on level, solid ground.
- Ensure all jack locations are clear of debris, obstructions or depressions.
- People and pets should be clear of the RV while the system is in operation.
- The battery should be fully charged or the RV plugged into shore power prior to operating the leveling system.
- Keep hands and body parts clear of fluid leaks. Hydraulic fluid leaks may be under high pressure and can cause serious skin-penetrating injuries.
- Using this leveling system in a manner other than its intended use will void the limited warranty.
Failure to act in accordance with these warnings may result in serious personal injury or death!
[amalinkspro_table id=”32452″ new-window=”on” nofollow=”on” addtocart=”off” /]
Reference Links
View Full User Guide: Jayco Eagle Fifth Wheels 2023 User Manual
Download Manuals: https://www.jayco.com/manuals/