Jayco Jay Sport 2019 User Manual
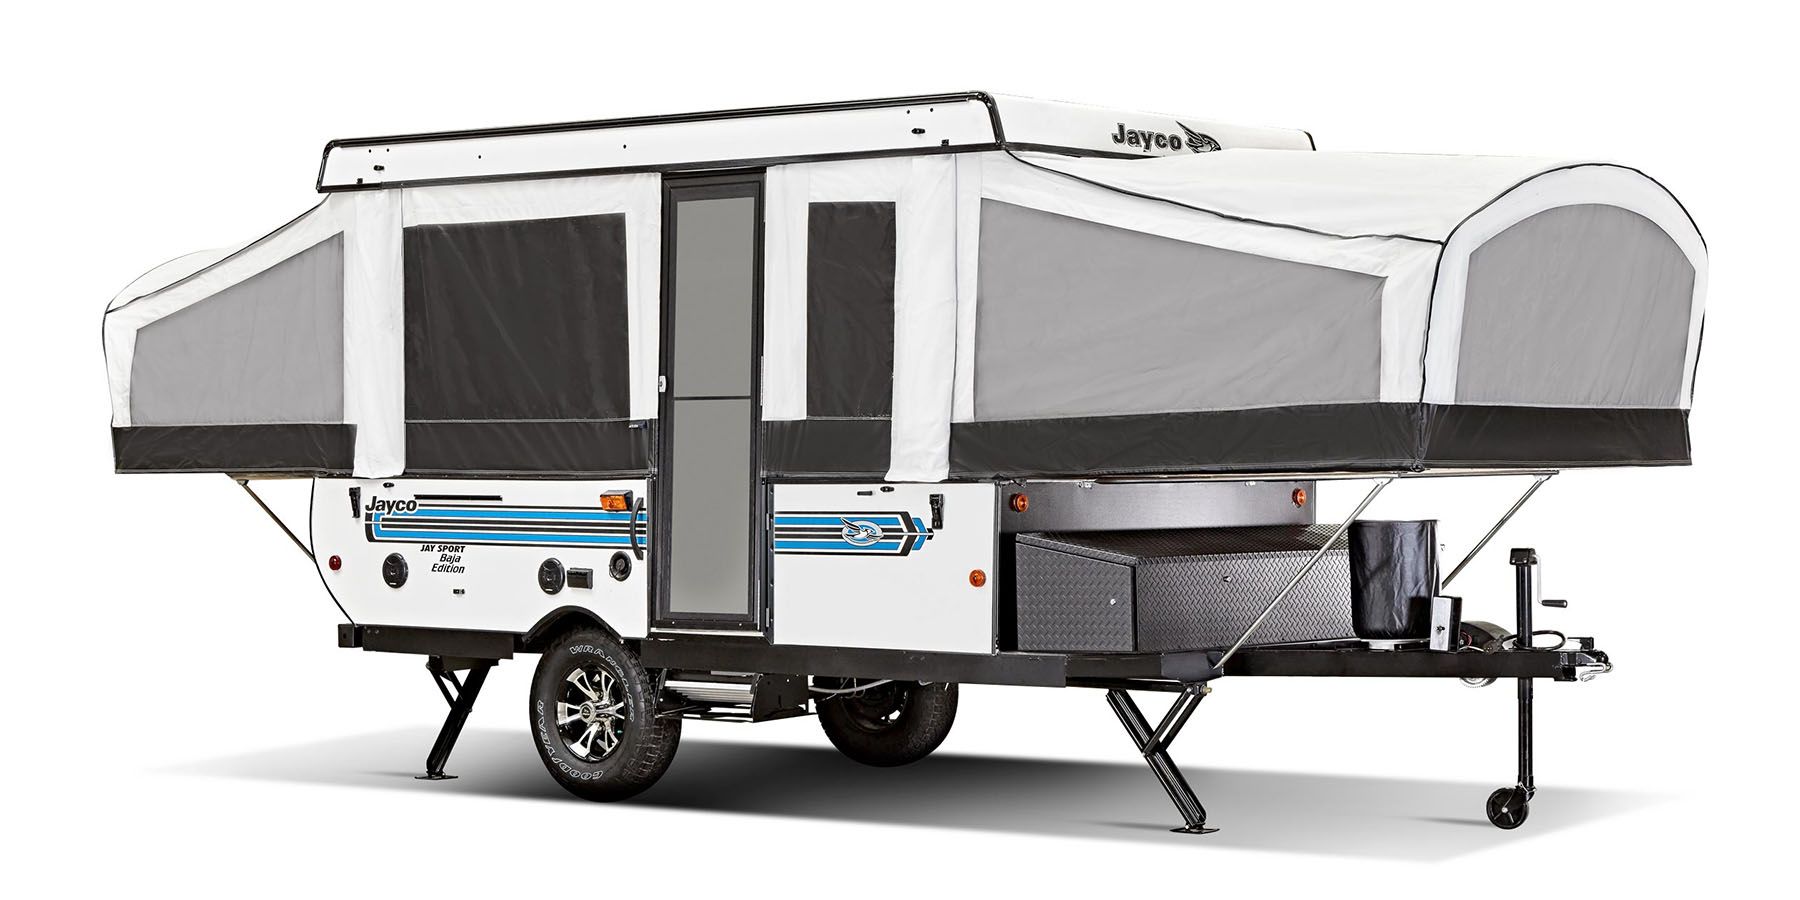
The 2019 Jayco Jay Sport is a beacon of freedom and adventure on wheels. It opens up a whole new world of outdoor exploring for campers and people who just love being outside. The pop-up camper form of this small, light trailer makes it the perfect mix of portability and comfort. The Jay Sport makes the great outdoors a cozy and easy place to stay, whether you’re going camping with your family, a romantic getaway, or a trip by yourself. With its flexible floor plans, long-lasting construction, and basic amenities, it changes the way camping is done and is a reliable friend for people who want to connect with nature and make memories that will last a lifetime outside.
The Electrical System
The RV electrical system is comprised of two independent electrical systems. One operates off of 12-volt DC power and the other off of 120-volt 60hz AC power. All installations have been made in compliance with industry standards applicable on the date of manufacture. Because the electrical equipment and associated circuitry are engineered into a dedicated system specific to your RV, do not make unauthorized changes or add fixed appliances to it. Changes or additions made after delivery may result in a hazardous condition.
Service and/or modification of the electrical system should only be performed by qualified electrical technicians using approved materials, components, and methods meeting current safety and code requirements. Consult your dealer’s service department for assistance.
To read more about the various components incorporated into the RV electrical system, please refer to the information contained in your Warranty Packet.
For motorized vehicles, consult the Chassis Guide for information pertaining to the chassis drivetrain electrical system.
Electrical System Maintenance
Before working on the electrical system:
- Make sure the inverter/charger (if so equipped) is turned “off” before disconnecting batteries. Disconnect the shore power cord.
- If equipped with a generator, turn off the generator and disable the automatic generator start functionality (if so equipped).
- Turn off the battery disconnect switch (if so equipped)
- Turn off the 120V main circuit breaker.
- Disconnect the negative 12VDC battery terminal from the battery.
WARNING
Use caution when using metal tools. If a tool contacts a battery terminal or metal connected to it, a short circuit could occur which could cause personal injury, explosion or fire.
In Case Of An Electrical Fire
WARNING
Do not attempt to use water to put out an electrical fire. Water can spread some types of fire, and electrocution is possible with an electrical fire.
EVERYONE SHOULD EVACUATE THE RV IMMEDIATELY:
- Switch the 120-volt main circuit breaker to the “off” position. It is important that everyone knows where to find the main circuit breaker and how it operates.
- Disconnect the negative battery cable(s) at the battery.
- Disconnect the power cord from the shore power receptacle.
- Turn “off” the generator (if so equipped).
Always have faulty or damaged wiring and electrical components repaired immediately.
Command Center
The command center is typically located inside the entrance door or in the living area of the RV, and contains switches and controls for various electrical functions. Command center applications, configurations and components will vary by model.
Command Center Panel or Command Center Panel with Switch Modules
Items found on these panels may include:
- Fuel gauge and hour meter with switches for fuel pump and fuel levels; fuel station (if so equipped) on/off switch
- Lighted red pump and water heater switches (electric & LP gas)
- Generator start / stop switch; may include hour meter
- Tank heater switches light switches for porch lights, exterior security lights, interior lights, awning LED lights, front cap LED accent lights, power entry step
- Cargo bed red lighted control switch
- Slideout control switches (press and hold to extend/retract)
- Awning control switches (press and hold to extend/retract)
- Systems Monitor with LED indicators for tank levels and bat-tery charge status
- Auto levelling control panel (for levelling the RV)
- Inverter panel (power switch with display)
- Power bunk bed lift control switch
- Speaker selector switch
Command Center Modules Mounted to the Wall
Some models may have the modules mounted directly to the interior wall of the vehicle. They are typically located near the entrance door.
Touch Dimmer Switch:
Certain models may include a touch dimmer switch next to the Command Center panel. (There are no interior light switches on the Command Center panel).
- Turn ON ceiling lights: Tap the LED light on the dimmer
- Turn OFF ceiling lights: Tap the LED light on the dimmer
- Dimmer: If lights are off, hold your finger on the LED light and lights will begin turning on gradually until fully lit. If lights are on, hold finger on the LED light and lights begin to gradually turn off.
The dimmer has a memory so it remembers what the light setting was when the lights were turned OFF. When turned ON again, the lights return to that same setting.
GFCI Receptacle
There is a ground fault current interrupter (GFCI) engineered into the electrical system. It is designed to reduce the possible injury caused by electric shock. The GFCI will not protect against short circuits or circuit overloads.
Test all GFCI receptacles monthly:
- Push in the GFCI “TEST” button. The GFCI “RESET” button should pop out indicating the GFCI receptacle has been “tripped” and interrupted 120-volt power.
- Push in the GFCI “RESET” button to restore 120-volt power.
Contact your independent dealer for assistance if the GFCI “RESET” button does not re-store 120-volt power and pops back out.
A “tripped” GFCI breaker indicates that an abnormally high 120-volt current flow (a ground fault) was detected. All ground faults must be repaired before use of the recreation vehicle. If the GFCI “RESET” button does not restore 120-volt power and pops back out. Contact your dealer for assistance.
Testing The Campsite Power Connection
The campsite 120-volt power receptacle(s) should always be tested for proper function-ality prior to plugging the recreation vehicle shore power cord into it.
Campsite 120-volt power receptacles can be tested using a digital multimeter or a dedi-cated circuit analyzer. Dedicated circuit analyzers plug directly into the campsite power receptacle and minimally test for open neutral, open ground, and correct polarity. Polarity indicators can be purchased in most electrical and hardware stores.
Maintenance
Vacuum off any dust on the cover of the smoke alarm using a soft brush attachment. Test the smoke alarm once you have vacuumed. Never use water, cleaners or solvents to clean the smoke alarm as they may damage the alarm. Do not paint the smoke alarm. Refer to the manufacturer’s user guide for detailed maintenance information.
Combination Carbon Monoxide /Propane Alarm
Your recreation vehicle is equipped with a combination carbon monoxide (CO) / propane alarm that is listed for use in recreation vehicles. The combination carbon monoxide/pro-pane alarm will only work if it is operational and maintained.
WARNING:
- The carbon monoxide detector installed is intended for use in ordinary indoor locations of recreation vehicles. It is not designed to comply with Occupational Safety and Health Administration (OSHA) commercial or industrial standards.
- Do not disconnect the battery or the alarm.
- Individuals with medical problems may consider using warning devices that provide audible and visual signals for carbon monoxide concentrations under 30 PPM.
- This alarm will only indicate the presence of carbon monoxide gas at the sensor. Carbon monoxide gas may be present in other areas.
- The ultimate responsibility for protection against toxic carbon monoxide fumes rests solely on you. Installing a carbon monoxide/propane alarm is just the first step in protecting your family from toxic carbon monoxide poisoning. The following symptoms are related to carbon monoxide poisoning and should be discussed with all members of the household:
- Mild exposure: Slight headache, nausea, vomiting, fatigue (often described as “flu-like” symptoms).
- Medium exposure: Severe throbbing headaches, drowsiness, confusion, fast heart rate.
- Extreme exposure: Unconsciousness, convulsions, cardio-respiratory failure, death.
The alarm is directly wired to the 12-volt electrical system, with continuous power being supplied by the recreational vehicle batteries. There is no 9-volt battery power supply. As a result, the alarm is always drawing a small amount of current from the recreation vehicle batteries. Although the current draw is slight, it could drain the batteries during extended storage periods. This condition is not likely to occur except during storage situations when the inverter cannot restore the battery charge. If the battery cable is disconnected at the battery terminals, the combination alarm will not work.
Be sure to read, understand and follow the owner’s information from the manufacturer of the combination CO/propane alarm. This includes information regarding the limited life of the alarm.
Carbon monoxide (CO) is an insidious poison. It is a colorless, odorless and tasteless gas. Many cases of reported carbon monoxide poisoning indicate while victims are aware they are not well, they become so disoriented they are unable to save themselves by either exiting the recreational vehicle or calling for assistance. Young children and household pets may be the first affected.
Your combination carbon monoxide/propane alarm is designed to detect the toxic carbon monoxide fumes that result from incomplete combustion, such as those emitted from appliances, furnaces, fireplaces and auto exhaust. A carbon monoxide/propane alarm is NOT A SUBSTITUTE for other combustible gas, fire or smoke alarms. This carbon monoxide alarm is designed to detect carbon monoxide gas from ANY source of combustion. It is not designed to detect smoke, fire or any other gas. Please note that there are hazards against which carbon monoxide detectors may not be effective, such as natural gas leaks or explosions.
This alarm is designed to sense the presence of carbon monoxide/propane gas, however, there are other combustible fumes or vapors that may be detected by the sensor including (but not limited to): acetone, alcohol, butane and gasoline. These chemicals can be found in commonly used items such as deodorants, colognes, perfumes, adhesives, lacquer, kerosene, glues, wine, liquor, most cleaning agents and the propellants of aerosol cans. High temperatures can activate glue and adhesive vapors. If you close up a recreational vehicle on a hot day, the chemicals used in its construction may be detected for months after the vehicle was constructed (for more information, refer to Sec. 2, Formaldehyde).
What you should do if the alarm sounds
- Actuation of this detector indicates the presence of carbon monoxide which can kill you.
- Never turn the 12-volt battery disconnect control to the off position and disconnect the battery cable to silence an alarm. The alarm will automatically sense when the level of carbon monoxide in the air reaches below dangerous levels. You should stay outside the vehicle in fresh air until the alarm is silenced. When the alarm sounds, do not stand too close to the alarm. The sound produced by the alarm is loud because it is designed to wake a person in an emergency. Prolonged exposure to the alarm at a close distance may be harmful to your hearing.
WARNING:
- Operate the RESET/SILENCE button.
- Call your emergency services (fire department or 911).
- Immediately move to fresh air (outdoors or by an open door or window).
- Do not re-enter the premises or move away from the open door or window until the emergency service responders have arrived, the premises have been aired out, and your alarm remains in its normal condition.
If your alarm reactivates within a 24 hour period, repeat steps 1-4 and call a qualified appliance technician to investigate for sources of carbon monoxide from fuel-burning equipment and appliances, and inspect for proper operation of this equipment. Make sure that motor vehicle(s) are not, and have not been, operating in an attached garage or adjacent to the recreation vehicle.
If problems are identified during this inspection, have the alarm serviced immediately? Note any combustion equipment not inspected by the technician and consult the manufacturer’s instructions or contact the manufacturer directly for more information about carbon monoxide safety and this alarm.
Alarm signals
- Normal operation: The LED will maintain a steady green light, indicating that the alarm is powered.
- CO alarm condition: The red LED light will remain steady and the alarm will sound 4 “BEEPS” then be silent for 5 seconds. These signals indicate immediate action is required.
- Propane gas alarm: The red LED flash and the alarm will sound a steady tone. These signals indicate immediate action is required.
- Alarm malfunction/low battery: The gas LED will remain off and the Operational/CO LED will alternate red/green and the alarm will sound once every 15 seconds.
- End-of-life alarm: The LED will flash red/red, green/green and the alarm will “BEEP” every 25-30 seconds. The alarm should be immediately replaced.
Maintenance
Vacuum the alarm cover at least once a year. Clean the cover by hand using a cloth dampened in clean water. Dry with a soft cloth. Do not spray the front panel of the alarm with cleaning agents or waxes. This action may damage the sensor causing an alarm or cause the alarm to malfunction. Do not paint the face of the alarm.
Testing the combination carbon monoxide/propane alarm
WARNING:
Test the alarm operation after the RV has been in storage, before each trip and at least once per week during use.
The TEST/RESET button tests all ELECTRICAL functions of the alarm. The TEST/Mute switch is located on the front of the alarm. Press and hold the test button for 1 second. The alarm is working properly if the GREEN indicator light changes color to RED and the horn beeps 4 times. The Gas LED should also blink red.
FAQ’s
The 2019 Jayco Jay Sport is a pop-up camper trailer designed for outdoor enthusiasts, offering a comfortable and portable camping experience.
The Jay Sport features a pop-up design, lightweight construction, versatile floorplans, and essential amenities, making it a convenient and cozy camping solution.
The 2019 Jay Sport typically offers multiple floorplan options to cater to different camping preferences and needs.
The sleeping capacity can vary depending on the chosen floorplan, but it often accommodates 4 to 6 people.
The Jay Sport includes features such as a kitchenette with a sink and stove, a dinette, storage cabinets, and comfortable sleeping areas.
The Jay Sport is designed for easy setup and takedown, with a pop-up design that can be accomplished in a short amount of time.
While it may not be designed for rugged off-road use, the Jay Sport is well-suited for camping in campgrounds and more accessible outdoor locations.
The 2019 Jay Sport has a starting price of $10,022. According to Jayco, the Jay Sport is designed to meet all your essential camping needs.
The Jay Sport’s lightweight design makes it compatible with many mid-sized SUVs and trucks, allowing for versatile towing options.
The Jay Sport typically offers storage cabinets and compartments for storing camping gear, making organization easy.
The Jay Sport typically does not include a bathroom, so campers may need to rely on campground facilities or portable toilets.
The Jay Sport is primarily designed for fair-weather camping, as its canvas sides may not provide sufficient insulation for extreme cold conditions.
Jayco aims to continue offering the Jay Sport as a versatile and affordable option for camping enthusiasts, continuously updating and improving its features.
The Jay Sport’s pop-up design, portability, affordability, and comfortable amenities make it a popular choice for campers seeking a hassle-free and enjoyable camping experience.
The Jay Sport encourages more people to embrace outdoor adventures by providing an accessible and comfortable camping solution, helping to strengthen the outdoor adventure community and love for nature.
Useful Links
Download Manuals: https://www.jayco.com/manuals/