2020 Jayco Talon User Manual
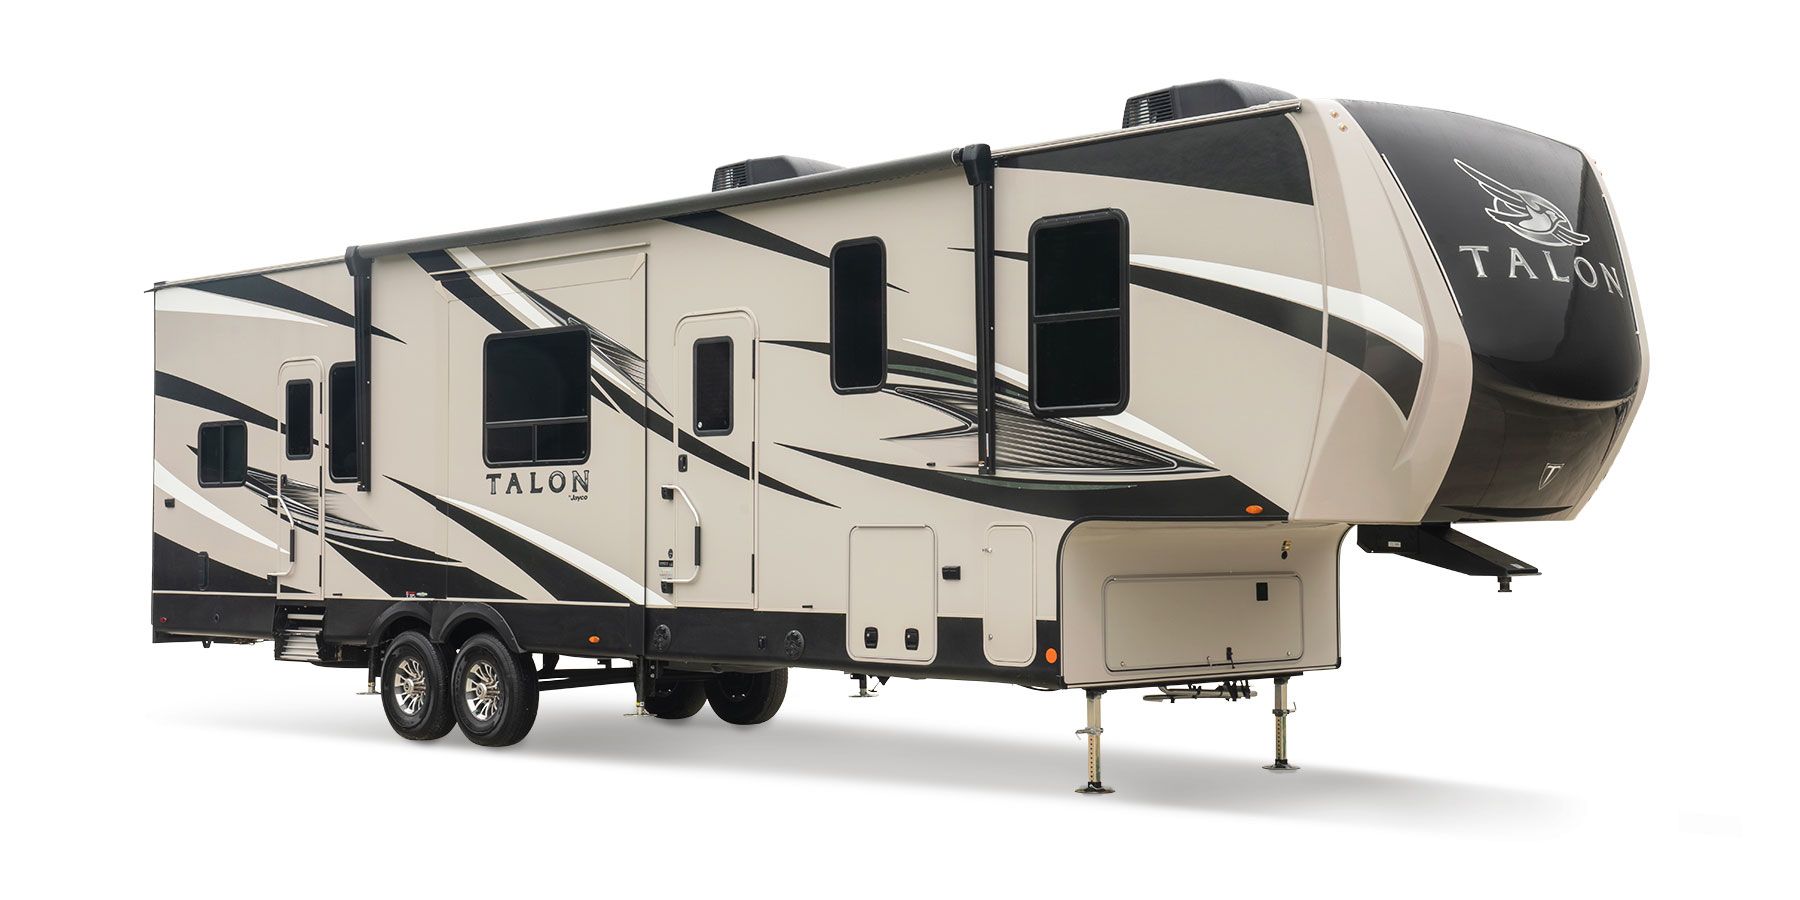
The 2020 Jayco Talon is a flexible and innovative toy hauler that adds a new level of adventure to recreational travelling by offering both luxurious living spaces and garages specifically designed for moving outdoor gear and RVs. This fifth-wheel toy hauler is made to be both comfortable and useful. It has a modern interior with lots of nice touches, roomy sleeping areas, and a kitchen that’s fully stocked. The garage area has strong tie-downs and can be set up in a variety of ways to fit a variety of outdoor toys, such as ATVs and motorcycles. With its sturdy build, modern look, and thoughtful details, the 2020 Jayco Talon is perfect for adventurers who want a fun and comfy home on the road that lets them bring their favourite toys with them.
Entrance Door
Always hold onto the entrance door when opening or closing it. Damage caused because you failed to do so is not covered by the Limited Warranty.
CAUTION:
Make sure the entrance door is completely closed and locked when traveling. Locking the door helps prevent it from opening unintentionally and keeps intruders from your recreation vehicle.
The entrance screen door may be equipped with a slide panel that allows access to the entrance door handle and locks. The entrance door may also be equipped with both a regular door lock and a deadbolt lock.
Keys
Several keys are provided when you purchase your vehicle. Most keys have an individual key number stamped on the plate. Record these key numbers and keep the information in a safe place. You can order a key blank from your dealer to have duplicate keys made. If you lose the keys, contact your dealer or a locksmith for assistance.
NOTE: Locks on entrance and baggage doors need biannual lubrication using a light coat of silicone spray. Conditions such as rain, salt, dust and pollution may increase the maintenance needs.
Rear Backup Camera Prep
Your recreation vehicle has been pre-wired to allow for the installation of a (customer-supplied and customer installed) rear backup camera and a customer installed (or dealer-installed) camera ON/OFF switch so the backup camera can be used as an observation/security cam-era.
Depending on your RV model, a camera accessory power wire is pre-routed at the factory from the rear camera to the bedroom or the command center panel inside the entrance door. An ON/OFF switch would be installed (by the customer or the dealer) either in the bedroom or in or near the command centre panel. The camera accessory power wire would be attached to this switch. The camera monitor is then plugged into the camera charge center in the bedroom or near the command centre panel to be used for observation or security purposes.
Certain models may have a pre-installed power switch for the camera located in an exterior compartment. (e.g. battery storage or utility center bay) Your dealer can tell you if your model comes with a switch pre-installed. An instruction sheet is included with your RV detailing the installation of the backup camera, and the camera power switch. It also explains where to find the camera accessory power wire in your particular model RV. This instruction sheet is included in your Warranty Packet.
Campsite Hook-Up
- Refer to the Electrical Systems section before connecting the shoreline power cord (when using full hook-up) OR before starting the generator (if so equipped) or operating the vehicle on 12-volt power when dry camping.
- Refer to the Fuel and LP System section before using the LP system. Open the LP gas tank valve (if so equipped) slowly. There may be air in the lines and five to thirty seconds of time is needed to bleed air before LP vapor fills the lines.
- Refer to the Plumbing Systems section before connecting the fresh water supply or turning ON the water pump or water heater.
- When using full hook-up, connect the sewer hose to the campsite sewer hook-up.
- If applicable, start the refrigerator and the cooling or heating system.
NOTE: For extended dry camping, management of all your resources is essential. Check your battery levels and conserve battery power, use it sparingly
(BAL)Leveling System (if so equipped)
- NEVER USE THIS SYSTEM FOR ANYTHING OTHER THAN ITS INTENDED USE.
- NEVER USE THE LEVELING SYSTEM AS A LIFT FOR CHANG-ING TIRES OR WORKING UNDER THE UNIT.
- KEEP PEOPLE, PETS AND OBSTRUCTIONS CLEAR OF THE UNIT BEFORE TURNING ON THE LEVELING SYSTEM AND WHILE OPERATING THE SYSTEM.
- DO NOT MOVE/TOW THE RV WITH THE JACKS EXTENDED.
- ALWAYS CHOCK THE TIRES BEFORE DISCONNECTING THE UNIT FROM THE TOW VEHICLE OR OPERATING THE LEV-ELING SYSTEM.
- PARK THE UNIT ON A REASONABLY SOLID SURFACE SO JACKS DON’T SINK INTO THE GROUND. USE LOAD DISTRIBUTION PADS UNDER EACH PAD ON SOFT SURFACES.
- PARK THE UNIT ON A REASONABLY LEVEL SURFACE. MAKE SURE THERE ARE NO OBSTRUCTIONS/DEPRESSIONS BEFORE OPERATING THE SYSTEM.
- MAKE SURE THE TOW VEHICLE IS DISCONNECTED AND MOVED CLEAR OF THE RV BEFORE STARTING THE LEVEL-ING PROCESS.
- NEVER LIFT THE WHEELS OF THE UNIT COMPLETELY OFF THE GROUND TO LEVEL THE UNIT.
- CHECK TO ENSURE THE UNIT IS CONNECTED PROPERLY TO THE TOW VEHICLE BEFORE EXECUTING THE “TONGUE JACK RETRACT” FUNCTION.
- VISUALLY CHECK ALL JACKS TO ENSURE THAT THEY ARE FULLY RETRACTED BEFORE TOWING.
- READ THE OWNER’S MANUAL BEFORE OPERATING.
- FAILURE TO HEED ANY OF THESE WARNINGS MAY RESULT IN DAMAGE TO THE UNIT, OR TOW VEHICLE, OR CAUSE SERIOUS INJURY OR DEATH.
The BAL Leveling System is both an automatic and a manual leveling system for a towable RV. The control screen and ON/OFF button is located in a lockable compartment on top of the power tongue jack.
Operation
AUTOMATIC FUNCTIONS INCLUDE:
- RV Detachment
- Auto Leveling (front stabilizer jacks, and rear leveling legs)
- RV Attachment
- Tongue Jack Extend or Retract
MANUAL FUNCTIONS INCLUDE:
- Manual Leveling (Rear leveling legs)
- Manual Stabilizer Leveling (front stabilizers)
- Manual Tongue Jack Extend or Retract
UNIT DETACHMENT AND AUTO LEVEL
- Lower the tongue jack adjustable foot, and chock wheels.
- Press ON/OFF to activate the display. (A below).
- Press the TONGUE JACK MODE (B below).
- Press and hold EXTEND (C below) until the necessary detachment height is reached.
- Disconnect the trailer and pull the tow vehicle completely clear of the unit.
- Lower the rear leveling jack adjustable feet and position them so that they are close to the same distance from the ground.
- Press AUTO MODE (D below).
- Press AUTO LEVEL (E below).
- Press OK (F below) to begin Auto Leveling or STOP to make another selection.
WARNING:
Vehicles, people, pets, and obstructions must be completely clear of the unit before executing the “Auto Level” function.
NOTE: If the system fails to Successfully Auto Level, check the unevenness of the area underneath the unit. All lifting jacks must be able to make full contact for the system to function properly.
UNIT ATTACHMENT
- Press ON/OFF to activate the display. (J below)
- Press AUTO MODE. (K below)
- Press AUTO RECONNECT (L below)
- Press OK to begin Auto Reconnect or STOP to make a new selection.
FAQ’s
The Jayco Talon is a fifth-wheel toy hauler RV designed for outdoor enthusiasts who want to take their adventures on the road.
The length of the 2020 Jayco Talon varies depending on the specific model, but it typically ranges from around 35 to 42 feet.
The Jayco Talon is designed to accommodate varying numbers of people, with floorplans that can sleep anywhere from 4 to 8 individuals.
Key features include a spacious garage for storing toys, a well-appointed interior with modern amenities, sturdy construction, and a variety of floorplan options.
To tow the Jayco Talon, you typically need a heavy-duty pickup truck with the appropriate towing capacity.
Some models of the Jayco Talon come equipped with a generator, while others may offer it as an optional feature.
The garage is designed to carry various recreational toys such as ATVs, motorcycles, dirt bikes, and more.
Yes, the 2020 Jayco Talon offers a range of floorplan options to suit different preferences and needs.
The interior of the Jayco Talon is known for its spaciousness, modern design, and high-quality furnishings that provide a comfortable and stylish living space.
Holding tank capacities can vary by model, but they typically include fresh water, gray water, and black water tanks to support extended camping trips.
The Jayco Talon is primarily designed for seasonal or warm-weather use. It may not be as well-insulated as four-season RVs.
Jayco typically offers a manufacturer’s warranty for its RVs, including the Talon.
Some level of customization may be available through Jayco or dealers, allowing you to personalize certain aspects of the interior.
The price of the Jayco Talon can vary significantly based on the model and optional features, but it generally falls within the mid to high range of the toy haulier market.
While the Jayco Talon offers comfort and versatility, it is primarily designed for recreational use rather than full-time living. Full-timers may prefer dedicated full-time RV models.
Useful Links
Download Manuals: https://www.jayco.com/manuals/