![]()
2019 Nissan Kicks LCD Display Owner’s Manual
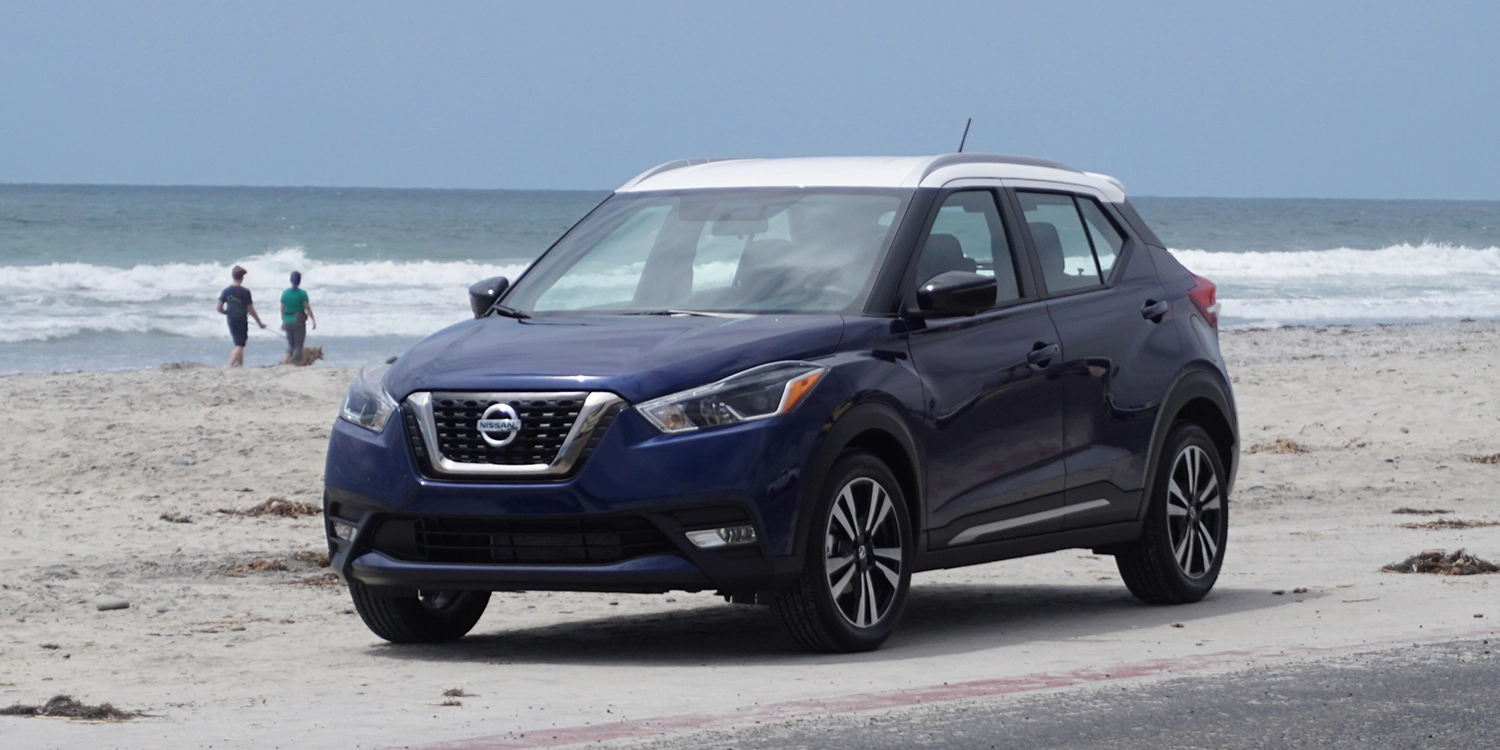
A bright LCD screen is built into the 2019 Nissan Kicks, making technology and functionality a smooth part of your driving experience. This advanced display is where you can access all the different features of your car, from entertainment choices to help with navigation and customizing the settings. It has an easy-to-use interface that makes it simple to move between options and find information. This makes it fun and useful for both drivers and passengers. The Nissan Kicks’ LCD makes sure that important information is easy to find at a glance, whether you’re changing the audio settings, looking at navigation routes, or staying linked through smartphone integration. This makes every trip on the road more convenient and enjoyable.
2023 – 2024 Nissan Kicks Review, Specs, Price and Mileage (Brochure)
VEHICLE INFORMATION DISPLAY

The vehicle information display is located to the left of the speedometer. It displays such items as:
- Audio Information
- Navigation Information
- Drive Computer Information
- Fuel Economy Information
- Indicators and Warnings
- Vehicle and Meter Display Settings
- Odometer/twin trip odometer
- Gear Position Indicator (P, R, N, D, L)
- Distance To Empty and Fuel Indicator
 HOW TO USE THE VEHICLE INFORMATION DISPLAY
The vehicle information display can be changed using the![]()
![]() and OK buttons located on the steering wheel.
and OK buttons located on the steering wheel.
 Use these buttons to navigate the vehicle information display.
- – Change or select an item in the vehicle information display.
 Returns to the previous menu.
The OK ![]() buttons also control audio and control panel functions in some conditions. Most screens and menus offer instruction prompts of the steering switch buttons to indicate how to control the vehicle information display. Dots on the left side of the vehicle informa-tion display will appear if there is more than one page of menu items. The OK button changes the audio source and the
buttons also control audio and control panel functions in some conditions. Most screens and menus offer instruction prompts of the steering switch buttons to indicate how to control the vehicle information display. Dots on the left side of the vehicle informa-tion display will appear if there is more than one page of menu items. The OK button changes the audio source and the
![]()
buttons also control voice recognition manual mode. For additional information, refer to the separate NissanConnect® Owner’s Manual.
STARTUP DISPLAY
When the vehicle is placed in the ON position the screens that display the vehicle information display include:
- Gauges
- Audio
- Navigation
- Fuel Economy
- Drive Computer
- Warning Review
- Settings
For additional information on warnings and indicators, refer to “Vehicle information display warnings and indicators” in this section.
To control what items are displayed in the vehicle information display, refer to “Customize display” in this section.
SETTINGS
The setting mode allows you to change the information displayed in the vehicle information display as well as the model for several vehicle functions:
- Driver Assistance
- Customize Display
- Vehicle Settings
- TPMS Settings
- Maintenance
- Clock
- Unit/Language
- Factory Reset
Driver Assistance
The driver assistance menu allows the user to change the various driving aids and assistance options.
|
Menu item |
Result |
||
|
Blind Spot |
Displays the available Blind Spot options. |
||
|
|
Blind Spot Warning |
Allows users to turn the emergency brake on or off. For additional information, refer to “Automatic Emergency Braking (AEB)” in the “Starting and driving” section of this manual. |
|
|
Emergency Brake |
Displays the available emergency brake options. |
||
|
|
System |
Allows users to turn the emergency brake on or off. For additional information, refer to “Automatic Emergency Braking (AEB)” in the “Starting and driving” section of this manual. |
|
|
Parking Aids |
Displays the available parking aids options. |
||
|
|
Moving Object |
Allows users to turn moving object detection on or off. For additional information, refer to “Moving Object Detection (MOD)” in the “Monitor, climate, audio, phone and voice recognition systems” section of this manual. |
|
|
Rear Cross Traffic Alert |
Allows users to turn rear cross-traffic alert on or off. For additional information, refer to “Rear Cross Traffic Alert (RCTA)” in the “Starting and driving” section of this manual. |
||
|
Timer Alert |
Allows user to set or reset an alert at a specific time interval. |
||
|
Low-Temperature Alert |
Allows users to turn the low-temperature alert on or off. |
||
|
Chassis Control |
Displays the available chassis control options. |
||
|
|
Active Trace Control |
Allows the user to turn the Intelligent Trace Control (I-TC) feature on or off. For additional information, refer to “Chassis Control” in the “Starting and driving” section of this manual. |
|
|
Active Engine Brake |
Allows the user to turn the Intelligent Engine Brake (I-EB) feature on or off. For additional information, refer to “Chassis Control” in the “Starting and driving” section of this manual. |
||
Customize Display
The customize display menu allows the user to customize the information that appears in the vehicle information display.
|
Menu item |
Result |
|
|
Main Menu Selection |
Displays available screens that can be shown in the vehicle information display. |
|
|
|
Status |
Allows users to turn the status screen on or off in the vehicle information display. |
|
Drive Computer |
Allows users to turn the drive computer screen on or off in the vehicle information display. |
|
|
Driving Aids |
Allows users to turn the driving aids screen on or off in the vehicle information display. |
|
|
Tire Pressures |
Allows users to turn the tyre pressure screen on or off in the vehicle information display. |
|
|
Coolant Temp. |
Allows users to turn the coolant temp. screen on or off in the vehicle information display. |
|
|
Chassis Control |
Allows users to turn the chassis control screen on or off in the vehicle information display. |
|
|
ECO Info Settings |
Displays the available ECO info settings. |
|
|
|
ECO Drive Report |
Select to display this report when the ignition in switch is placed in the ON position. |
|
View History |
Select to view the vehicle’s history. |
|
|
Navigation Settings |
Displays the available navigation settings. |
|
|
|
Alerts |
Allows users to set available navigation alerts. |
|
Welcome Effect |
Displays the available welcome effect settings. |
|
Vehicle Settings
The vehicle settings allow the user to change the settings for lights, wipers, lock-ing, keys, and other vehicle settings.
|
Menu item |
Result |
||
|
Lighting |
Displays the available lighting settings. |
||
|
|
Welcome Headlight |
Displays the available welcome headlight options. |
|
|
|
Welcome & Farewell |
Allows users to set the headlights to turn on when they approach and leave the vehicle. |
|
|
Welcome |
Allows users to set the headlights to turn on when they approach the vehicle. |
||
|
Farewell |
Allows users to set the headlights to turn on when they leave the vehicle. |
||
|
OFF |
Allows users to set the headlights to turn off when not driving. |
||
|
|
Auto Room Lamp |
Allows users to turn the auto room lamp on or off. |
|
|
Light Sensitivity |
Allows users to change when the lights illuminate based on the brightness outside the vehicle. |
||
|
Auto Light |
Allows users to turn the auto light feature on or off. |
||
|
Light Off Delay |
Allows the user to change the duration of time, from 0 to 180 seconds, that the automatic headlights stay on af- ter the vehicle is shut off. |
||
|
Turn Indicator |
Displays the available turn indicator settings. |
||
|
3 Flash Pass |
Allows users to turn the 3 flash pass feature on or off. For additional information, refer to “Headlight and turn signal switch” in this section. |
||
|
Locking |
Displays the available locking settings. |
||
|
Ext. Door Switch |
Allows users to turn the exterior door switch on or off. When turned on, the request switch on the door is activated. |
||
|
Selective Unlock |
Allows users to turn the selective unlock feature on or off. When turned on, only the driver’s door is unlocked after the door unlock operation. When the door handle request switch on the driver’s or front passenger’s side door is pushed to be unlocked, only the corresponding door is unlocked first. All the doors can be unlocked if the door unlock operation is performed again within 30 seconds. When this item is turned off, all the doors will be unlocked after the door unlock operation is performed once. |
||
|
Auto Door Unlock |
Displays the available auto door unlock options. |
||
|
|
Shift to P |
Doors will unlock when the vehicle is shifted into P (Park). |
|
|
Menu item |
Result |
||
|
|
IGN OFF |
Doors will unlock when the ignition is turned off. |
|
|
OFF |
Doors will have to be manually unlocked. |
||
|
|
Answer Back Horn |
Allows users to turn the answer back horn feature on or off. When turned on, the horn will chirp and the haz- ard indicators will flash twice when locking the vehicle with the Intelligent Key. |
|
|
Wipers |
Displays the available wiper settings. |
||
|
|
Reverse Link |
Allows users to turn the reverse link feature on or off. |
|
|
Speed Dependent |
Allows users to turn the wiper with the speed feature on or off. |
||
|
Wiper with Speed (if so equipped) |
Allows users to turn the wiper with speed feature on or off. |
||
|
Remote Engine Start |
Allows users to turn the Remote Engine Start feature on or off. When turned off, the vehicle cannot be started remotely. |
||
TPMS Settings
The TPMS settings menu allows the user to change the tire pressure units displayed in the vehicle information display.
|
Menu item |
Result |
|
|
TPMS Settings |
Displays available TPMS Settings. |
|
|
|
Tire Pressure Unit |
Allows users to select the tire pressure units that will display in the vehicle information display. |
Maintenance
The maintenance menu allows the user to set reminders for various vehicle mainte-nance items.
WARNING
The tyre replacement indicator is not a substitute for regular tyre checks, including tyre pressure checks. For additional information, refer to “Changing wheels and tyres” in the “Do-it-yourself” section of this manual. Many factors including tyre inflation, alignment, driving habits and road conditions affect tyre wear and when tyres should be replaced. Setting the tyre replacement indicators for a certain driving distance does not mean your tyres will last that long. Use the tyre replacement indicator as a guide only and always perform regular tyre checks. Failure to perform regular tyre checks, including tyre pressure checks could result in tyre failure. Serious vehicle damage could occur and may lead to a collision, which could result in serious personal injury or death.
|
Menu item |
Result |
|
Oil and Filter |
Allows users to set a reminder at a specific interval or reset the current one. |
|
Tyre |
Allows users to set a reminder at a specific interval or reset the current one. |
|
Other |
Allows users to set a reminder at a specific interval or reset the current one. |
Clock
|
Menu item |
Result |
|
Clock |
Allows users to adjust the clock settings and time within the vehicle information display. Adjustments that can be made include manually setting the time, and 12H/24H format. If these options do not appear, the clock must be set within the centre display. For additional information, refer to the separate NissanConnect® Owner’s Manual (if so equipped). |
Unit/Language
The unit/language menu allows the user to change the units shown in the vehicle information display.
|
Menu item |
Result |
|
Mileage/Fuel |
Displays the available mileage/fuel display units and allows the user to select the preferred unit for display. |
|
Tire Pressures |
Allows users to select the tire pressure display units. |
|
Temperature |
Allows users to select the temperature display units. |
|
Language |
Displays the available language options and allows the user to select the preferred language for display. |
Factory Reset
The factory reset menu allows the user to restore the vehicle information display settings to factory status.
|
Menu item |
Result |
|
Factory Reset |
Allows users to reset the vehicle information display settings to the original factory settings. Once selected, the user can confirm or cancel the reset. |

FAQs
The 2019 Nissan Kicks has a 7-inch LCD screen.
In your 2019 Nissan Kicks, go to the settings menu and choose “display options” to change how bright the screen is.
Yes, you can change how the icons appear on the screen of your 2019 Nissan Kicks by pressing and keeping the icon you want to move
That’s right, the 2019 Nissan Kicks’ screen can connect to your phone via Apple CarPlay and Android Auto.
To connect your phone to the screen in your 2019 Nissan Kicks, open the Bluetooth settings and choose “Pair Device.”
Yes, you can use voice commands to handle your 2019 Nissan Kicks’s screen. Just press the voice command button on the steering wheel.
Yes, the 2019 Nissan Kicks’ screen does have directions built-in through the NissanConnect system.
To change the audio settings on your 2019 Nissan Kicks screen, go to the audio menu and pick the options you want.
Yes, you can see the feed from the back camera on the 2019 Nissan Kicks’ screen even when the car is in reverse.
The 2019 Nissan Kicks’ screen does allow multi-touch gestures for zooming in and out on maps and other apps.
If you want to get to the vehicle settings menu on your 2019 Nissan Kicks screen, go to the settings menu and choose “Vehicle Settings.”
Yes, you can change the picture on your 2019 Nissan Kicks screen by going to the menu for display settings.
Yes, the 2019 Nissan Kicks has a night mode for the display screen that changes the lighting automatically to make it easier to see at night.
If you want to reset the screen on your 2019 Nissan Kicks, go to the settings menu and choose “reset to factory settings.”
Yes, you can connect your phone to your 2019 Nissan Kicks via Bluetooth or USB and stream music to the screen.
Useful Links
View Full PDF: Nissan Kicks 2019 User Manual| Auto User Guide
2023 – 2024 Nissan Kicks Review, Specs, Price and Mileage (Brochure)