![]()
Cluster Guide: 2020 Nissan Frontier Dashboard Instructions
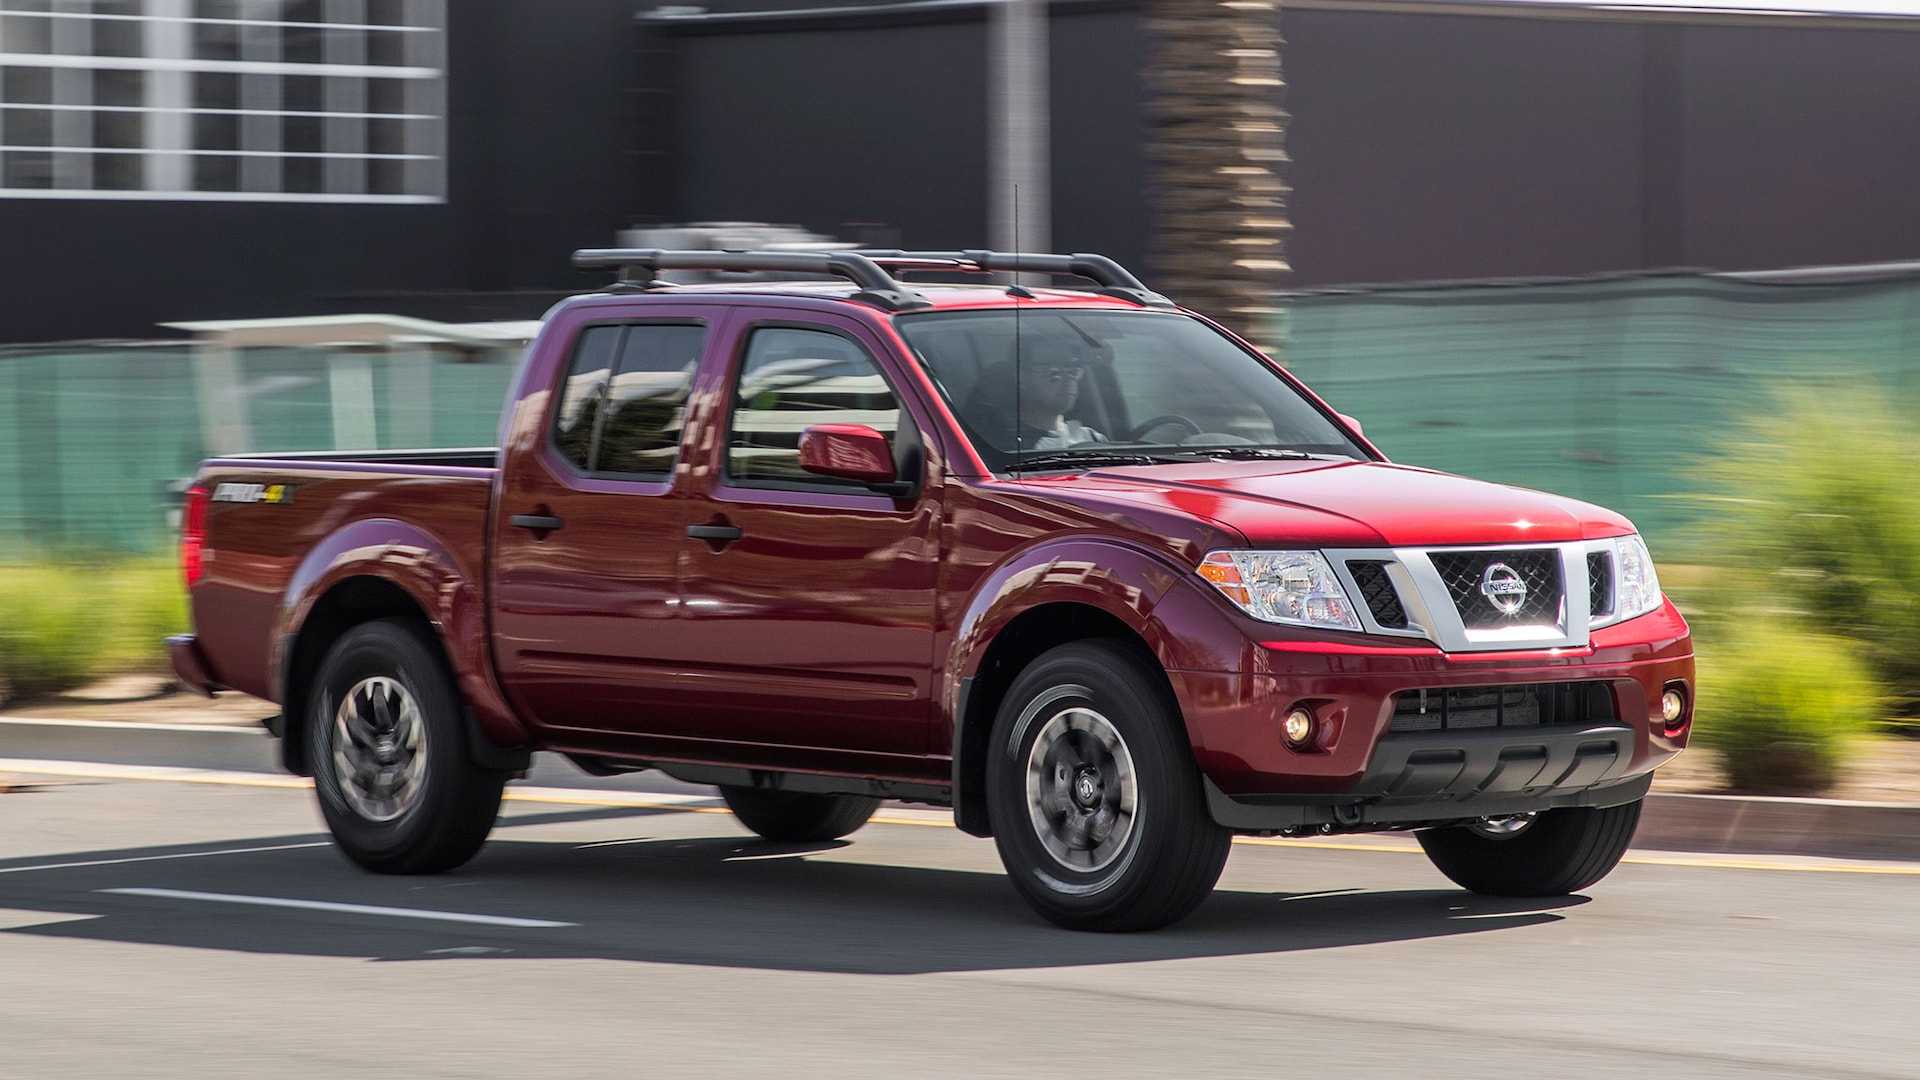
With its command center, the dashboard, acting as the nerve center of this rugged beauty, the 2020 Nissan Frontier is a pinnacle of contemporary design and functionality, taking drivers on a journey into the heart of automotive innovation. Tucked away in the svelte corners of the Frontier’s cluster, the dashboard presents itself as a technological marvel, fusing state-of-the-art functionality with intuitive controls. A tapestry of instructions that leads the driver and passengers through an immersive driving experience is revealed as we delve into the complex dashboard of the 2020 Nissan Frontier. Every element of the dashboard, from the multifunctional digital cluster display to the logically arranged controls, is carefully designed to improve both convenience and overall aesthetic appeal. Come along on this exploration as we break down the 2020 Nissan Frontier’s dashboard instructions to discover how form and function combine to create the interior landscape of this iconic car.
2023 – 2024 Nissan Frontier Review, Price, Features and Mileage (Brochure)
Instrument Cluster
METERS AND GAUGES

- Warning and indicator lights
- Tachometer
- Speedometer
- Fuel gauge
- Change/reset button
- Odometer
Twin trip odometer
Trip computer Instrument brightness control knob - Engine coolant temperature gauge
SPEEDOMETER AND ODOMETER
This vehicle is equipped with a speedometer and odometer. The speedometer is located on the right side of the meter cluster. The odometer is located within the trip computer.

Speedometer
The speedometer indicates vehicle speed.
Odometer/Twin trip odometer
The odometer/twin trip odometer is displayed when the ignition switch is placed in the ON position.
The odometer records the total distance the vehicle is driven.
The twin trip odometer records the distance of individual trips.

With twin trip odometer
Changing the display
For vehicles equipped with a twin trip odometer, pressing the change/reset but-ton changes the display as follows:
![]()

With trip computer
For vehicles equipped with a trip computer, pressing the change/reset button changes the display as follows:
Trip ![]() → Trip
→ Trip ![]() → Distance to Empty → Average speed → Average fuel consumption → Journey time → Trip
→ Distance to Empty → Average speed → Average fuel consumption → Journey time → Trip![]() For additional information, refer to “Trip computer” in this section.
For additional information, refer to “Trip computer” in this section.
Resetting the trip odometer
Pressing the change/reset button for more than 1-second resets the currently displayed trip odometer to zero.

Loose fuel cap warning message
Press the change/reset button A for more than 1 second to reset the
LOOSE FUEL CAP warning message after the fuel cap has been tightened. For additional information, refer to “Fuel-filler cap” in the “Pre-driving checks and adjustments” section of this manual.

Check the tyre pressure warning message
The CHECK tyre PRES (pressure) warning message is displayed when the low tyre pressure warning light is illuminated and low tyre pressure is detected. Check and adjust the tire pressure to the recommended COLD tire pressure shown on the Tire and Loading Information label. The CHECK tyre PRES (pressure) warning message turns off when the low tyre pressure warning light turns off.
The low tyre pressure warning light remains illuminated until the tyres are inflated to the recommended COLD tyre pressure. The CHECK tyre PRES (pressure) warning message is displayed each time the ignition switch is placed in the ON position as long as the low tyre pressure warning light remains illuminated.
For additional information, refer to “Low tire pressure warning light” in this section, “Tire Pressure Monitoring System (TPMS)” in the “Starting and driving” section, and “Wheels and tires” in the “Do-it-yourself” section of this manual.

TACHOMETER
The tachometer indicates engine speed in revolutions per minute (rpm).
Do not rev the engine into the red zone 1.
CAUTION
Operating the engine in the red zone may cause serious engine damage. When engine speed approaches the red zone, shift to a higher gear or reduce engine speed.

ENGINE COOLANT TEMPERATURE GAUGE
The gauge indicates the engine coolant temperature. The engine coolant temperature is within the normal range 1 when the gauge needle points within the zone shown in the illustration.
The engine coolant temperature varies with the outside air temperature and driving conditions.
CAUTION
If the gauge indicates coolant temperature near the hot (H) end of the normal range, reduce vehicle speed to decrease temperature. If the gauge is over the normal range, stop the vehicle as soon as safely possible. If the engine is overheated, continued operation of the vehicle may seriously damage the engine. For additional information, refer to “If your vehicle overheats” in the “In case of emergency” section of this manual for immediate action required.
FUEL GAUGE
The gauge indicates the approximate fuel level in the tank.
The gauge may move slightly during braking, turning, acceleration, or going up or down hills.
The gauge needle returns to 0 (Empty) after the ignition switch is placed in the OFF position.
The low fuel warning light comes on when the amount of fuel in the tank is getting low.
Refill the fuel tank before the gauge registers 0 (Empty).
This  indicates that the fuel-filler door is located on the driver’s side of the vehicle.
CAUTION
- If the vehicle runs out of fuel, the
 Malfunction Indicator Light (MIL) may come on. Refuel as soon as possible. After a few driving trips, the light should turn off. If the light remains on after a few driving trips, have the vehicle inspected? It is recommended that you visit a NISSAN dealer for this service.
 - For additional information, refer to “Malfunction Indicator Light (MIL)” in this section.
DISTANCE TO EMPTY (DTE)
Displays the estimated distance the vehicle can be driven before refuelling. The value is calculated based on recent fuel economy, the amount of fuel remaining in the fuel tank, and the actual fuel consumption.
Changes in driving patterns or conditions can cause the DTE value to vary. As a result, the value displayed may differ from the actual distance that can be driven.
DTE display will change to “—” when the fuel level in the tank is getting low, before the fuel gauge reaches 0 (Empty).
NOTE:
- The DTE value after refill is estimated based on recent fuel economy and the amount of fuel added.
- If a small amount of fuel is added, or the ignition is on during refueling, the display may not be updated.
- Conditions that affect the fuel economy will also affect the estimated DTE value (city/highway driving, idle time, remote start time, terrain, seasonal weather, added vehicle weight, added deflectors, roof racks, etc.).

TRIP COMPUTER
The display of the trip computer is situated in the speedometer display. When the ignition switch is placed in the ON position, the display scrolls all the modes of the trip computer and then shows the mode chosen before the ignition switch was placed in the OFF position.
When the ignition switch is placed in the ON position, modes of the trip computer can be selected by pressing the change/reset button. The following modes can be selected:
Average fuel consumption (Mpg or l/100km)
The average fuel consumption mode shows the average fuel consumption since the last reset. Resetting is done by pressing the change/reset button for more than approximately 1 second. The display is updated every 30 seconds. At about the first 1/3 miles (500 m) after a reset, the display shows (—-).
Average speed (mph or km/h)
The average speed mode shows the average vehicle speed since the last reset. Resetting is done by pressing the change/reset button for more than approximately 1 second. The display is updated every 30 seconds. The first 30 seconds after a reset, the display shows (—-).
Journey time
The journey time mode shows the time since the last reset. The displayed time can be reset by pressing the change/reset button for more than approximately 1 second.
Trip computer reset
Pressing the change/reset button for more than 3 seconds will reset all modes except Trip A and distance to empty.
COMPASS AND OUTSIDE TEMPERATURE DISPLAY
This unit has the following functions:
- Measures terrestrial magnetism and indicates the heading direction of the vehicle
- Indicates outside air temperature
With the ignition switch in the ON position, press the or button as described in the charts below to activate various features of the automatic anti-glare rearview mirror.
Type A
|
Press |
Feature: (Press the button again for about 1 second to change settings) |
|
1 second |
Compass toggles on/off |
|
8 seconds |
Automatic anti-glare/indicator light toggles on/off |
|
11 seconds |
The compass zone can be changed to correct false compass readings |
|
13 seconds |
Compass enters calibration mode |
Type B
|
Press |
Feature: (Press the button again for about 1 second to change settings) |
|
1 second |
Compass toggles on/off |
|
8 seconds |
The compass zone can be changed to correct false compass readings |
|
10 seconds |
Compass enters calibration mode |
For additional information, refer to “Automatic anti-glare rearview mirror” in the “Pre-driving checks and adjustments” section of this manual.

Type A
OUTSIDE TEMPERATURE DISPLAY
Press the button for about 1 second when the push-button ignition switch is in the ON position to toggle the outside temperature and compass direction display 1 on or off.
- To change from °F to °C, press and hold the
 button for about 5 seconds or the
 button for about 3 seconds until the display begins to flash. Press the button again to toggle between °C and °F.

Type B
- When the outside temperature is between 140°F (60°C) and 194°F (90°C), the display will read 140°F (60°C). When the temperature is above 194°F (90°C), the display will read “SC.”
- When the outside temperature is between -40°F (-40°C) and -60°F (-51°C), the display will read -40°F (-40°C). When the temperature is below -60°F (-51°C), the display will read “OC.”
- The outside temperature sensor is located in front of the radiator. The sensor may be affected by road or engine heat, wind direction, and other driving conditions. The display may differ from the actual outside temperature or the temperature displayed on various signs or billboards.
COMPASS
Press the ![]() or button for about 1 second when the ignition switch is placed in the ON position to toggle the outside temperature and compass direction dis-
or button for about 1 second when the ignition switch is placed in the ON position to toggle the outside temperature and compass direction dis-
play 1 on or off. The display will indicate the direction that the vehicle is heading.
- N: North
- E: East
- S: South
- W: West
If the display reads “C,” calibrate the compass by driving the vehicle in three complete circles at less than 5 mph (8 km/h).
You can also calibrate the compass by driving your vehicle on your everyday route. The compass will be calibrated once it has tracked three complete circles.
Zone variation change procedure
The difference between magnetic north and geographical north is known as variance. In some areas, this difference can sometimes be great enough to cause false compass readings. Follow these instructions to set the variance for your particular location if this happens:
- Press and hold the button for about 11 seconds or the button for about 8 seconds. The current zone number will appear in the display. Release the button.
- Find your current location on the zone map. Refer to the illustration.
- Press thebutton repeatedly to toggle through the zone numbers until the desired number appears in the display. Once you have selected a zone number, the display will show a compass direction within a few seconds.

Inaccurate compass direction
The compass display is equipped with an automatic correction function. If the correct direction is not shown, follow this procedure.
- With the display turned on, press and hold the for about 13 seconds of the button for about 10 seconds. The “C” icon in the compass display will illuminate.
- Calibrate the compass by driving the vehicle in three complete circles at a maximum speed of 5 mph (8 km/h).
- After completing the circles, the display should return to normal.
FAQs
The dashboard of the 2020 Nissan Frontier has a central infotainment system and an easy-to-use layout with all the necessary controls.
The 2020 Nissan Frontier’s dashboard lights can be made brighter by finding and rotating the dimmer switch, which is normally found next to the headlight control.
There are warning lights on the 2020 Nissan Frontier dashboard for several operations, including the tire pressure, oil pressure, and check engine light
To link your smartphone to the infotainment system of the 2020 Nissan Frontier, turn on Bluetooth on your phone, navigate to the settings on the dashboard, and then follow the instructions to pair your phone.
The fuel gauge on the dashboard of the 2020 Nissan Frontier is normally situated close to the speedometer in the instrument cluster.
Maintenance reminders for scheduled services like tire rotations and oil changes may appear on the dashboard of the 2020 Nissan Frontier. For more information on how to precisely reset these reminders, consult the owner’s manual.
The infotainment display can be used to access the 2020 Nissan Frontier navigation system if it is equipped. To enter your destination, look for the navigation icon and follow the on-screen directions.
The 2020 Nissan Frontier dashboard’s “VDC Off” light indicates that the Vehicle Dynamic Control system has been manually disabled.
The 2020 Nissan Frontier may come with options to customize the information shown on the dashboard, depending on the trim level. To see what customizing options are available, navigate to the infotainment system’s settings menu.
Find the trip button on the instrument cluster of the 2020 Nissan Frontier, press and hold it until the reading drops to zero, to reset the trip odometer.
he audio controls on the 2020 Nissan Frontier dashboard include source selection, track switching, and volume. For ease of use, these controls are frequently located on the steering wheel.
The 2020 Nissan Frontier’s device charging USB port is usually found on the center console or close to the infotainment system.
Make sure you are traveling at a steady speed before activating the cruise control on the 2020 Nissan Frontier by pressing the cruise control button on the steering wheel and selecting your preferred speed.
The airbag status, seatbelt warnings, and other safety-related indicators are just a few of the safety features that the 2020 Nissan Frontier dashboard may show. L
Useful Links
View Full PDF: Nissan Frontier 2020 User Manual| Auto User Guide
2023 – 2024 Nissan Frontier Review, Price, Features and Mileage (Brochure)