![]()
2021 Renault Kangoo Z.E Owner’s Manual
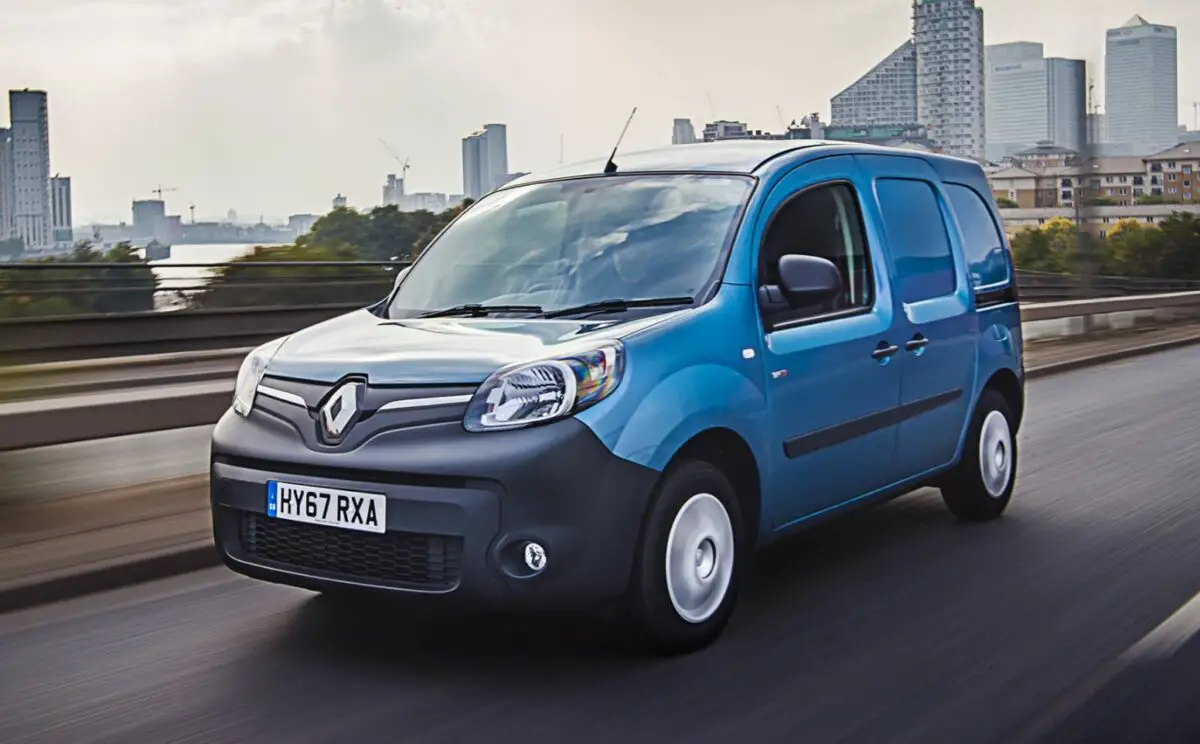
As a key product in the electric light commercial vehicle market, the 2021 Renault Kangoo Z.E. demonstrates Renault’s dedication to providing effective and sustainable urban mobility options. This all-electric version of the well-known Kangoo series is designed to satisfy the demands of companies and consumers looking for a greener solution for their transportation and logistics needs. It has a fair range that is ideal for regular urban deliveries and operations thanks to its strong electric motor and lithium-ion battery pack. The Kangoo Z.E. maintains the roomy and functional design of the original Kangoo, providing plenty of cargo space and guaranteeing a silent, emission-free, and smooth driving experience. For individuals who prioritize eco-friendly transportation options in their personal and business interests, the 2021 Renault Kangoo Z.E. is a compelling option because to its functionality, low operating costs, and environmental awareness.
OPENING AND CLOSING THE DOORS
Opening from the outside
Unlock the door and pull handle 1. For information on unlocking the doors, refer to the information on the “Key, radio frequency remote control: use” in Section 1.
Opening from the inside
Pull handle 2.
Closing from the inside
Pull handle 3.
Note: do not use the handle 2 to close the door.
Lights-on reminder buzzer
A warning beep sounds when the driver’s door is opened to warn you that the lights are still on (to prevent discharge of the 12-volt battery). This warning indicates that a door is open or not properly closed.
Child safety
(depending on the vehicle) At the rear, to prevent the side door from being opened from the inside, move lever 4 using the end of the vehicle key. From the inside, check that the door is correctly locked.
Sliding side door
Opening from the outside
Unlock the door and pull handle 5, then slide the door towards the rear of the vehicle until it locks in position. For information on unlocking the doors, refer to Section 1 “Key, radio frequency remote control: use”.
Opening from the inside
Pull handle 7 and use handle 6 to slide the door towards the rear of the vehicle until it locks in position.
Closing from the inside
Pull handle 5 towards the front of the vehicle until the door is completely closed.
As a safety measure, the sliding side door located on the fuel filler flap side locks when the flap is opened. For more information, refer to the information on the “Central door locking/unlocking” in Section 1.
Recommendations cocerning the sliding side door
The following precautions must be taken when opening and closing the doors or any other open-ing element:
- Check that the door will not come into contact with any person, animal or object.
- Only use the handles on the inside and outside of the door to operate it.
- Take care when opening and closing the door.
- Take particular care when the vehicle is parked on a slope: open the door with care until it is fully open and latches into its locking position.
- Before moving off, always ensure that the sliding door is properly closed.
- Do not use the lower support as a step.
Rear hinged doors
Opening from the outside
Unlock the door and pull handle 8. For information on unlocking the doors, refer to Section 1 “Key, radio frequency remote control: use”.
Do not leave the hinged rear doors open in case of strong winds. Risk of injury.
Opening the doors to the maximum position
For each door, pull handle 9 to release the door check strap. Open the door as far as possible.
Closing manually from the outside
First close the small door and then close the large door. Position each door so that it is almost closed and then slam shut. If the vehicle is parked on the hard shoulder with the tailgate open, the rear lights may be obscured. You should make other road-users aware of your vehicle by using a warning triangle or other equipment specified by the road traffic regulations of the country concerned.
Rear hinged doors (continued)
Opening from the inside (depending on vehicle) Pull handle 11 and open the door. Pull lever 10 to open the small door.
Closing from the inside
First close the small door and then close the large door. Position each door so that it is almost closed and then slam shut.
Control for locking and unlocking from the inside
This enables all the doors to be locked simultaneously. Lock or unlock the doors by pressing switch 1. If a door or the tailgate is open or not closed properly, the doors and tailgate lock/unlock quickly. Never leave your vehicle with the key inside the vehicle.
Locking the opening elements without the remote control
With the engine and ignition off, the sliding side doors closed and a front door open, press switch 1 for more than five seconds.
Make sure you have your key with you before you leave your vehicle.
When the door is closed, all the doors and tailgate will be locked.
Unlocking from outside the vehicle will only be possible with the key for the driver’s door.
Doors and tailgate status indicator light
With the ignition on, the warning light integrated in switch 1 informs you of the locking status of the opening elements:
- indicator light on, the doors and tail-gate are locked;
- indicator light off, at least one door is unlocked.
When you lock the doors, the indicator light remains lit and then goes out. Unlocking the opening elements by pressing the switch 1 releases the vehicle charging cord. If you decide to keep the doors locked when you are driving, remember that it may be more difficult for those assisting you to gain access to the passenger compartment in the event of an emergency.
Manual control
Using the key
Lock or unlock the driver’s door by in-serting the key 3 fully into lock 2, and turning the key. For more information on the remote controls, refer to the information on the “Key, radio frequency remote control: use” in Section 1.
Locking the doors manually
Turn screw 4 with the door open (using the end of the key) and close the door. This means that the doors are then locked from the outside. The doors may then only be opened from inside the vehicle or with the key for the front doors.
Sliding side door (fuel filler cap side)
To prevent the door striking the fuel filler nozzle, a mechanical system locks it when the fuel filler flap is open. When the fuel tank has been filled, re-place the cap in its housing and close the flap. The door can now be used.
AUTOMATIC LOCKING WHEN DRIVING (RAID)
You must first decide if you want to activate this function.
To activate
With the engine running, press and hold button 1 for approximately 5 seconds, until you hear a beep. The indicator light built into the control comes on when the doors are locked.
To deactivate
With the engine running, press and hold button 1 for approximately 5 seconds, until you hear a beep.
Operating principle
When the engine is started, the system automatically locks the doors when the vehicle reaches a speed of approximately 4 mph (7 km/h).
Operating faults
If you notice an operating fault (automatic locking impossible), first check that all doors are correctly locked. If they are correctly locked and the fault is still present, contact an approved Dealer. Also make sure that locking has not been inadvertently deactivated. If necessary, refer to the activation procedure. If you decide to keep the doors locked when you are driving, remember that it may be more difficult for those assisting you to gain access to the passenger compartment in the event of an emergency.
FRONT HEADRESTS
To raise the headrest
Pull it upwards to the required height.
To lower the headrest
Pull the tab 2 forwards, gently lift the headrest to unlock it and guide it down to the required height.
To remove the headrest
Raise it to its highest position. Press button 1 and lift the headrest to release it.
To refit the headrest
First, check that the headrest rods are clean and correctly aligned.
Pull the tab 2 forwards. Insert the headrest rods in the holes, with the notches facing forwards (tilt the seat backwards if necessary). Guide the headrest down to the desired height. The headrest is an important safety component: ensure that it is in place and in the correct position. The distance between your head and the headrest should be as small as possible. The top of your head should be in line with the top of the headrest.
To raise the headrest
Pull it upwards to the required height.
To lower the headrest
Press button 3 and guide the headrest down to the desired height.
To remove the headrest
Raise it to its highest position. Press button 4 and lift the headrest to release it.
Note: when the headrest is removed, take care not to change the positions of the rods.
To refit the headrest
If the setting of the rods has been altered, pull them fully upwards. Take care to ensure they are clean and correctly aligned and, if there are any problems, check that the notches are facing forwards. Insert the headrest rods into the holes (tilt the seatback backwards if necessary). Lower the headrest until it locks, press button 3 and lower the headrest as far as possible. The headrest is an important safety component: ensure that it is in place and in the correct position. The distance between your head and the headrest should be as small as possible. The top of your head should be in line with the top of the headrest.
To raise the headrest
Pull it upwards to the required height.
To lower the headrest
Press tab 5 and guide the headrest down to the desired height.
To remove the headrest
Raise it to its highest position. Press tabs 5 and 6 then lift the headrest to re-lease it.
Note: when the headrest is removed, take care not to change the positions of the rods.
To refit the headrest
Press tab 5. Insert the headrest rods in the holes with the notches facing forward, and guide the headrest down to the re-quired height.
The headrest is an impor-tant safety component: ensure that it is in place and in the correct position. The distance between your head and the headrest should be as small as possible. The top of your head should be in line with the top of the headrest.
To move forwards or backwards
Depending on the seat, lift bar 1 or handle 4 to release it. Release the handle at the desired position and make sure that it is locked.
Adjusting the height of the driver’s seat
Move lever 3 as many times as necessary:.
- upwards to raise the seat,
- downwards to lower the seat.
To tilt the seatback
Depending on the seat, lower or lift lever 2 and tilt the seatback until it reaches the required position.
Heated seats
Ignition switch to a position other than the “Stop and steering lock” position St, press switch 5, an indicator light will come on.
Operating faults
(depending on vehicle) If the sliding side door does not work, lower handle 6, hold it while the seat-back tilts and slide the seat forwards. To place the seat into the comfort posi-tion, slide it rearwards. Adjust the seat and make sure that it is correctly locked. For safety reasons, carry out any adjustments when the vehicle is not being driven. To avoid all risk of injury, ensure that nobody is in the proximity of the moving parts. When moving the seat, make sure that nothing inter-feres with the moving parts and their locking.
SWIVELLING PARTITION
To rotate the partition
- Unlock the seat base by moving handle 1 downwards;
- lift the front passenger seat base vertically (arrow);
- lower headrest 2 to its lowest setting;
- unlock the seatback by moving handle 1 downwards again and position the seatback horizontally. To make the manoeuvre easier, rotate the headrest 2 ;
- unlock the swivelling section by lift-ing catch 3;
- reposition the seat base, proceeding in reverse order.
- Pivot the moving section 90 degrees, lock it at point 5 and lower catch 3.
Note: before refitting the swivelling section in its original position, check that locking point 4 is clean.
When moving the swivelling partition, ensure the seat belt is not dam-aged. Hold it aside when you rotate the partition. Maximum weight on the seat in table position is 80 kg. The weight must be evenly distributed. The swivelling section must always be locked when the vehicle is driven. Risk of injury.
SEAT BELTS
Always wear your seat belt when travelling in your vehicle. You must also comply with the legislation of the particular country you are in. Make sure that the rear bench seat is securely locked in position so that the rear seat belts will operate efficiently. Refer to the information on the “Rear bench seat: functions” in Section 3. Seat belts which are incor-rectly adjusted or twisted may cause injuries in the event of an accident. Use one seat belt per person, whether child or adult.
Even pregnant women should wear a seat belt. In this case, ensure that the lap belt is not exerting too much pressure on the abdomen, but do not allow any slack. Before starting, first adjust your driv-ing position, then ask all occupants to adjust their seat belts to ensure optimum protection.
Adjusting your driving position
- Sit well back in your seat (having first removed your coat or jacket). This is essential to ensure your back is positioned correctly;
- Adjust the distance between the seat and the pedals. Your seat should be as far back as possible while still allowing you to fully de-press the pedals. The seatback should be adjusted so that your arms are slightly bent when you hold the steering wheel;
- adjust the position of your head-rest. For maximum safety, your head must be as close as possible to the headrest;
- adjust the height of the seat. This adjustment allows you to select the seat position which offers you the best possible view;
- adjust the position of the steering wheel.
Adjusting the seat belts
Sit with your back firmly against the seatback. The shoulder strap 1 should be as close as possible to the base of the neck but not on it. The lap belt 2 should be worn flat over the thighs and against the pelvis. The seat belt must be worn as close to the body as possible. E.g.: avoid wear-ing heavy clothing or keeping bulky ob-jects under the belts, etc.
Locking
Unwind the belt slowly and smoothly and ensure that buckle 3 locks into catch 5 (check that it is locked by pull-ing on buckle 3). If the belt jams, allow it to return slightly before attempting to unwind it again. If your seat belt is completely jammed, pull slowly, but firmly so that just over 3 cm unwinds. Allow it to return slightly before attempting to unwind it again. If there is still a problem, contact an ap-proved dealer.
™ Front seat belt reminder warning light
It remains on when the engine is started if your seat belt is not fatened. When the vehicle reaches a speed of 12 mph (20 km/h), the warning light flashes and a buzzer sounds. Then, the beep sounds at a low volume for 30 seconds, then at a high volume for 90 seconds.
Unfastening
Press button 4 and the seat belt will be rewound by the inertia reel. Guide the belt.
NB: an object placed on the passenger seat base may activate the warning light in some cases.
FAQ
The Renault Kangoo Z.E. is an all-electric light commercial vehicle.
The range varies but is designed to be sufficient for typical daily urban commercial use.
Charging time varies based on the type of charger, but it offers options for both standard and faster charging.
Yes, like most electric vehicles, it includes regenerative braking to help extend battery life.
The Kangoo Z.E. offers a spacious and adaptable cargo area, similar to the conventional Kangoo.
The focus is mainly on cargo transport, but regional variations might offer a passenger variant.
It uses a lithium-ion battery pack.
It typically has two seats, as it’s primarily designed for cargo transport.
Yes, it is equipped to handle fast charging for quicker recharge times.
The interior is practical and functional, with basic comfort features and a modern infotainment system.
Standard safety features likely include airbags, ABS, and electronic stability control.
Many regions offer tax incentives or benefits for electric vehicles, which would likely apply to the Kangoo Z.E.
Yes, the cargo space is versatile and can be fitted with different storage solutions for business needs.
It has a competitive payload capacity, though slightly less than petrol/diesel models due to the battery’s weight.
Yes, electric vehicles typically come with a separate battery warranty.