Seat Ibiza 2019 User Manual
Since 1984, Seat has been making the Ibiza, which is a small car.
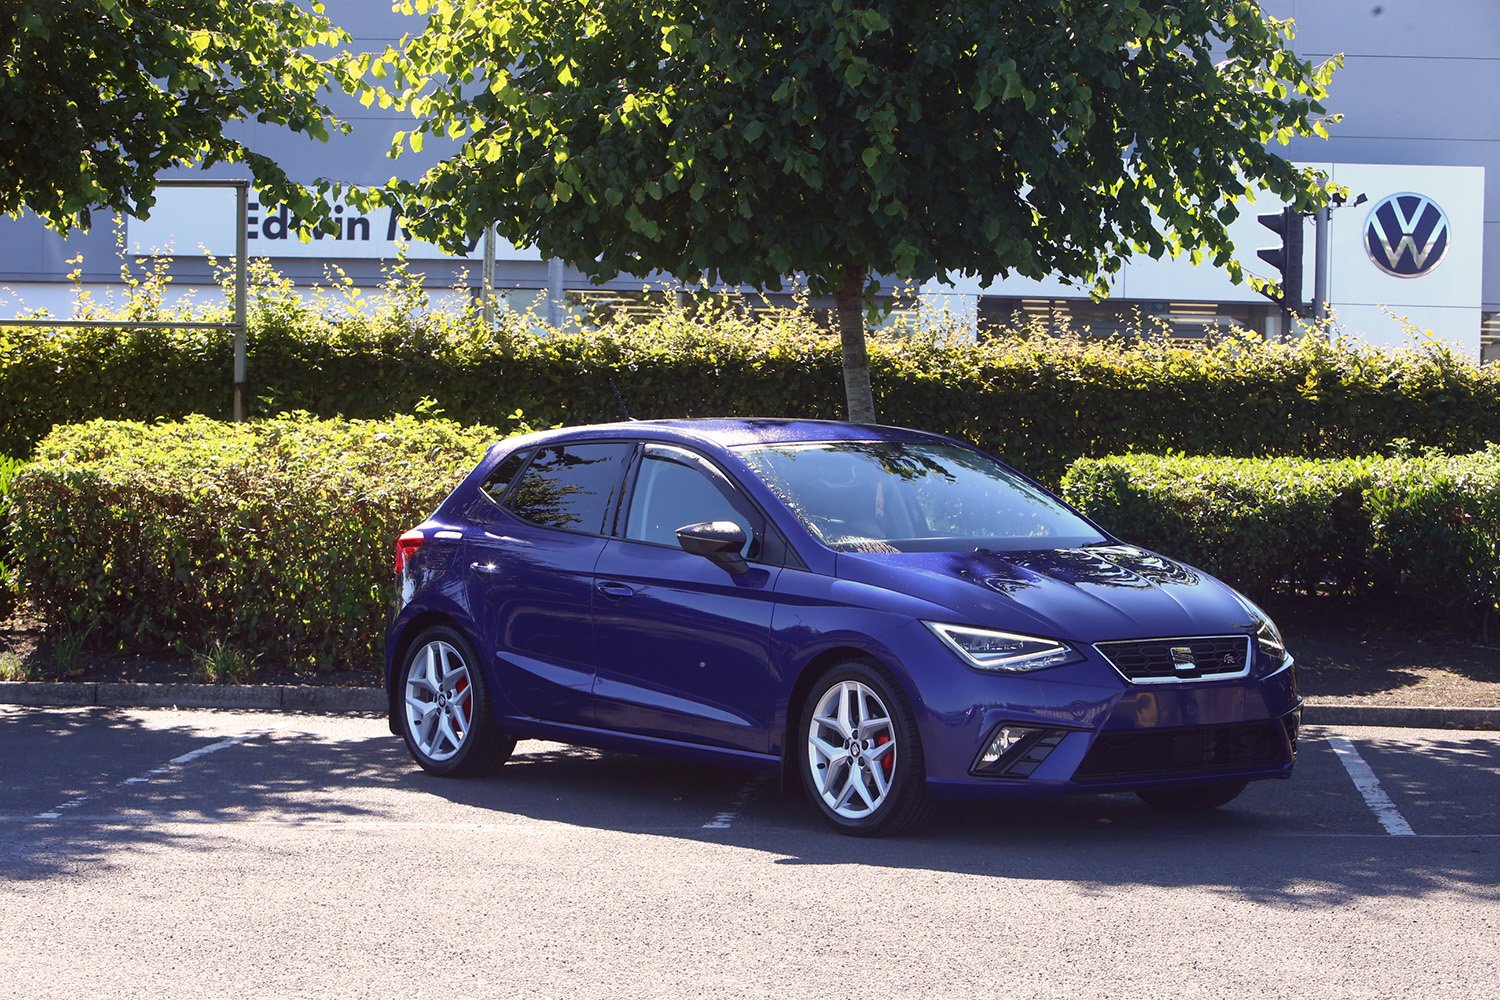
The Seat Ibiza is known for having a stylish look, being small, and running well. It is a popular choice on the European market because it is both useful and comfortable while still being affordable. The Ibiza comes in different body styles, such as a 5-door hatchback and the Ibiza ST, which is a station wagon. The Seat Ibiza usually has a modern and sporty look in terms of its style. It has a unique front face, smooth lines on the body, and stylish lights. The Ibiza’s interior is made to be both comfy and useful, with plenty of room for passengers and a well-organized dashboard with easy-to-use controls. Most of the time, the Ibiza comes with a range of gasoline and diesel engines to meet different tastes and market needs. These engines are made to have a good mix between speed and gas mileage. There may be both manual and automatic transmission choices. Several changes were made to the 2019 model of the Seat Ibiza compared to older models. Some of these changes could have been changes to the outer design, changes to the interior, or the addition of new technology features. Manufacturers often change their models to keep up with the latest technology and style trends and to stay competitive.
Thank you for your trust in choosing a SEAT vehicle.
- With your new SEAT, you will be able to enjoy a vehicle with state-of-the-art technology and top-quality features.
- We recommend reading this Instruction Manual carefully to learn more about your vehicle so you can enjoy all its benefits in your daily driving.
- Information about handling is complemented with instructions regarding the operation and maintenance of the vehicle in order to ensure its safety and maintain its value. Moreover, we want to give you valuable advice and tips to drive your vehicle efficiently and respecting the environment.
- We wish you safe and enjoyable motoring.
WARNING
Read and always observe safety information concerning the passenger’s front airbag ››› page 81, Important information regarding the front passenger’s airbag.
About this manual
- This manual describes the features of the vehicle at the time of drafting this text. Some of the features described below will be introduced in the future or will only be available in certain markets.
- Some of the features described here are not included in all the types or variations of the model and they can be varied or modified based on technical or marketing requirements without it being considered misleading advertising.
- Some details on the drawings may vary from their vehicle and must be interpreted as a standard representation.
- The direction indicators (left, right, forwards, backward) in this manual refer to the travel direction of the vehicle unless otherwise stated.
- The audiovisual material is only meant to help the users better understand some features of the car. It is not a replacement for the instruction manual. Access the instruction manual to see the complete information and warnings.
The features marked with an asterisk are included by default only in certain versions of the model, supplied as optional only for certain versions or only offered in certain countries.
You can access the information in this manual using:
- A thematic table of contents that follows the manual’s general chapter structure.
- Visual table of contents that uses graphics to indicate the pages containing “essential” information, which is detailed in the corresponding chapters.
- Alphabetical index with many terms and synonyms to help you find information.
WARNING
Texts after this symbol contain information about safety and warn you about possible accident or injury risks.
Printed Instruction Manual
- The printed instruction manual contains relevant information about the use of the vehicle and the Infotainment System.
- The digital version of the manuals contains more in-depth information.
How it works
Opening and closing
Locking and unlocking the vehicle using the key
- Lock: press the lock button.
- Unlock: press the unlock button.
- Unlock rear lid: press the button until all the turn signals on the vehicle briefly light up.
Locking and unlocking with the central locking switch
- Lock: press the lock button. The symbol lights up yellow to indicate that it is activated. None of the doors can be opened from the outside. The doors can be opened from the inside by pulling the inside door handle.
Unlock: Press the lock button again. The symbol reverts to its initial color.
Unlocking or locking of driver’s door
- If the central locking system should fail to operate, the driver door can still be locked and unlocked by turning the key in the lock.
- As a general rule, when the driver door is locked manually all other doors are locked. When it is unlocked manually, only the driver door opens. Please observe the instructions relating to the anti-theft alarm system.
- Insert the key shaft into the lower opening in the cover on the driver door handle (arrow) then remove the cover upwards.
Insert the key blade into the lock cylinder to unlock or lock the vehicle
Special Characteristics
- The anti-theft alarm will remain active when vehicles are unlocked. However, the alarm will not be triggered.
- After the driver door is opened, you have 15 seconds to switch on the ignition. Once this time has elapsed, the alarm is triggered.
- Switch the ignition on. The electronic immobilizer recognizes a valid vehicle key and deactivates the anti-theft alarm system.
Note
The anti-theft alarm is not activated when the vehicle is locked manually using the key shaft.
Emergency locking of doors without door cylinder
If the central locking system should fail to work at any time, doors with no lock cylinder will have to be locked separately. A mechanical locking device (only visible when the door is open) is provided on the front passenger door
- Pull the cap out of the opening.
- Insert the key in the inside slot and turn it to the right as far as it will go (if the door is on the right side) or to the left (if the door is onthe left side).
Once the door has been closed it can no longer be opened from the outside. Pull the interior door handle once to unlock and open the door.
Rear lid
- The rear lid opening system operates electrically.
- It is activated by using the handle on the boot lid.
- This system may or may not be operative, depending on the situation of the vehicle.
- If the rear lid is locked then it cannot be opened, however, if it is unlocked then the opening system is operative and the rear lid may be opened.
- To lock/unlock, press the button or the button on the remote control key.
- A warning appears on the instrument panel display if the rear lid is open or not properly closed.* An audible warning is also given if the boot lid is opened while the vehicle is moving faster than 6 km/h (4 mph)*. Opening the rear lid: pull on the release lever and lift it up ››› Fig. 8. The rear lid opens automatically.
Close the rear lid: hold it by one of the handles on the interior lining and close it by pushing gently.
Unlocking the rear lid manually
- This allows the vehicle to be opened if the central locking does not work (for example, if the battery is flat).
- There is a groove in the luggage compartment allowing access to the emergency opening mechanism.
Opening the rear lid from inside the luggage compartment
Insert the key in the groove and unlock the locking system, turning the key from right to left, as shown by the arrow.
Opening the bonnet
- The bonnet is released from inside the vehicle.
- Before opening the bonnet, make sure that the windscreen wiper arms are in place against the windscreen
- Open the door and pull the lever under the dashboard.
- To lift the bonnet, press the left on the lever located under the bonnet, in the center. The arrester hooks are released.
- Release the bonnet stay and secure it in the fixture designed for this in the bonnet
Close the bonnet
- Slightly lift the bonnet.
- Release the bonnet stay and replace it in its support.
- At a height of approximately 30 cm let it fall so it locks.
If the bonnet does not close, do not press downwards. Open it again and let it fall as mentioned above.
Controls for the windows
- Open the window: press the button.
- Close the window: pull on the button.
Buttons on the driver door
- Window on the front left door
- Window on the front right door
- Window on the rear left door (only vehicles with rear electric windows)
- Window on the rear right door (only vehicles with rear electric windows)
- Safety switch for deactivating the electric window buttons on the rear doors (only vehicles with rear electric windows)
Sliding sunroof
- Open: press button C backward.
- Close: press button D forwards.
- Raise: press the rear part of button B.
- Lower: press the front part of button A .
Manually adjusting the front seats
- Forwards/backward: pull the lever and move the seat.
- Raising/lowering: pull/push the lever.
- Tilting the backrest: turn the hand wheel
Adjusting the head restraints
To raise or lower the head restraint, press the side button 1 and move it upwards or downwards until it engages in the desired position.
Adjustment of the seat belt
- To adjust the seat belt around your shoulders, adjust the height of the seats.
- The shoulder part of the seat belt should be well centered over it, never over the neck. The seat belt lies flat and fits comfortably on the upper part of the body.
- The lap part of the seat belt lies across the pelvis, never across the stomach. The seat belt lies flat and fits comfortably on the pelvis.
Seat belt tensioners
- During a collision, the seat belts on the front seats are retracted automatically.
- The tensioner can be triggered only once
Adjusting the exterior mirrors
Adjusting the exterior mirrors: Turn the knob to the corresponding position:
Turning the knob to the desired position, adjust the mirrors on the driver’s side (L, left) and the passenger side (R, right) to the direction desired
Adjusting the steering wheel
Adjusting the position of the steering wheel: pull the 1 lever down, move the steering wheel to the desired position, and lift the lever back up until it locks
Front airbags
- The front airbag for the driver is located in the steering wheel and the airbag for the front passenger is located in the dash panel. Airbags are identified by the word “AIRBAG”.
- When the driver and front passenger airbags are deployed, the covers remain attached to the steering wheel and dashboard, respectively.
- In conjunction with the seat belts, the front airbag system gives the driver and the front passenger additional protection for the head
Deactivating the front passenger front airbag
To deactivate the front passenger front airbag:
- Switch the ignition off.
- Open the door on the front passenger side.
- Insert the key into the slot of the switch for deactivating the front passenger airbag. About 3/4 of the key should enter; this is as far as it will go.
- Turn the key gently to the position. If you have difficulty, ensure that you have inserted the key as far as it will go.
- Close the front passenger door.
- Check, with the ignition switched on, that the control lamp remains lit where it says in the centre of the dash panel.
Side airbags
- The side airbags are located in the driver’s seat and front passenger seat backrests. The locations are identified by the text “AIRBAG” in the upper region of the backrests.
- In conjunction with the seat belts, the side airbag system provides additional protection for the upper body in the event of a severe side collision.
- In a side collision, the side airbags reduce the risk of injury to passengers to the areas of the body facing the impact. In addition to their normal function of protecting the occupants in a collision, the front and rear outer seat belts also hold the passengers in the event of a side collision; this is how these airbags provide maximum protection.
Head-protection airbags
- There is a head airbag on each side of the interior above the doors. Airbags are identified by the word “AIRBAG”.
- The area framed in red is covered by the head-protection airbag when it is deployed (deployment area). Therefore, objects should never be placed or mounted in this area in Head-protection airbags*.
- In the event of a side collision the curtain airbag is triggered on the impact side of the vehicle.
- The head-protection airbags reduce the risk of injury to passengers in the front and rear side seats facing the impact.
Securing child seats
A shows the basic child restraint system mounting using lower retaining rings and the upper retaining strap. Figure B shows the child restraint system mounting using the vehicle seat belt.
The seat belt may be used to secure universal-type child seats to the vehicle seats marked with a U in the table below.
- In the passenger seat without height regulation: the passenger seat must be in its rearmost position1).
- In the passenger seat with height regulation: the passenger seat must be in its rearmost and highest position1).
- To correctly use a child seat in the back, the front backrest must be adjusted so that there is no contact with the child seat in the back in the case that it goes opposite to the direction of the car. In the case of front-facing restraint systems, the front backrest must be adjusted so that there is no contact with the child’s feet.
- To adjust the passenger seat to accommodate a child’s seat and get the seat belt in a perfect position, adjust the passenger backrest as far forward as possible1).
- If a semi-universal type chair is to be installed, in which the method of attachment to the car is through the seat belt and support bracket, it should never be installed in the central rear seat as the ground clearance is lower than in other places and the support bracket will not allow the seat to remain sufficiently stable.
- The systems include the child restraint system mounting with an upper retaining strap (Top Tether) and lower anchoring points on the seat.
Useful Link
Download Link: https://www.seat.com/owners/about-my-car/manuals